PROCESS
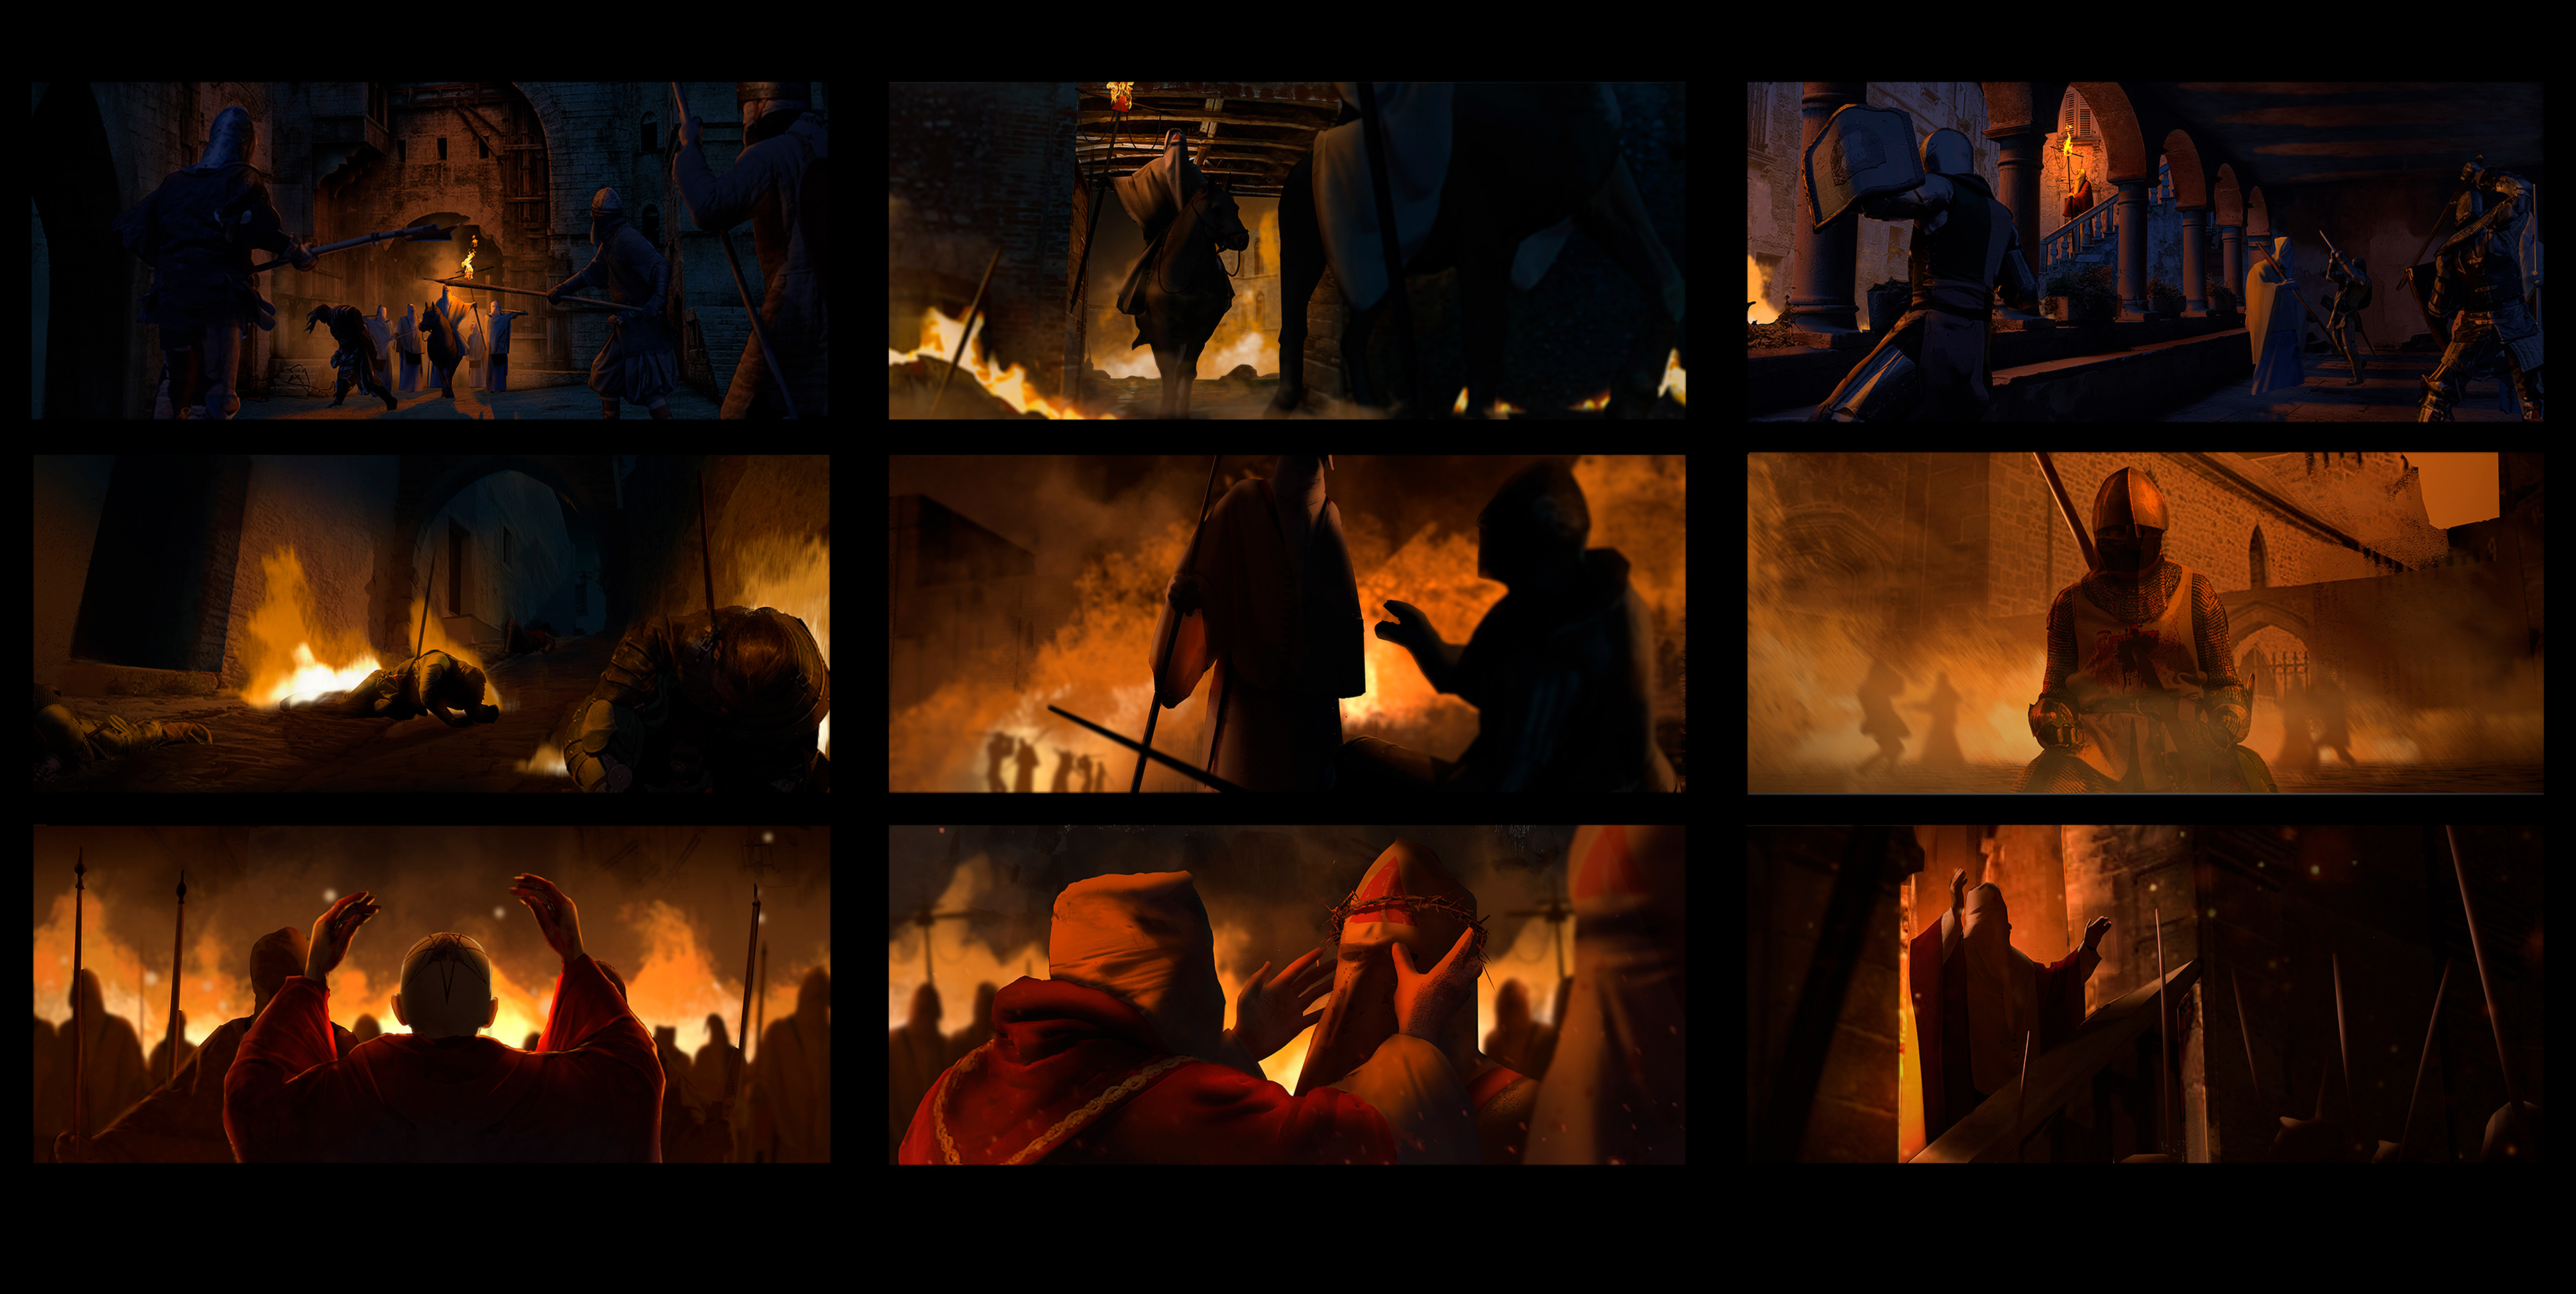
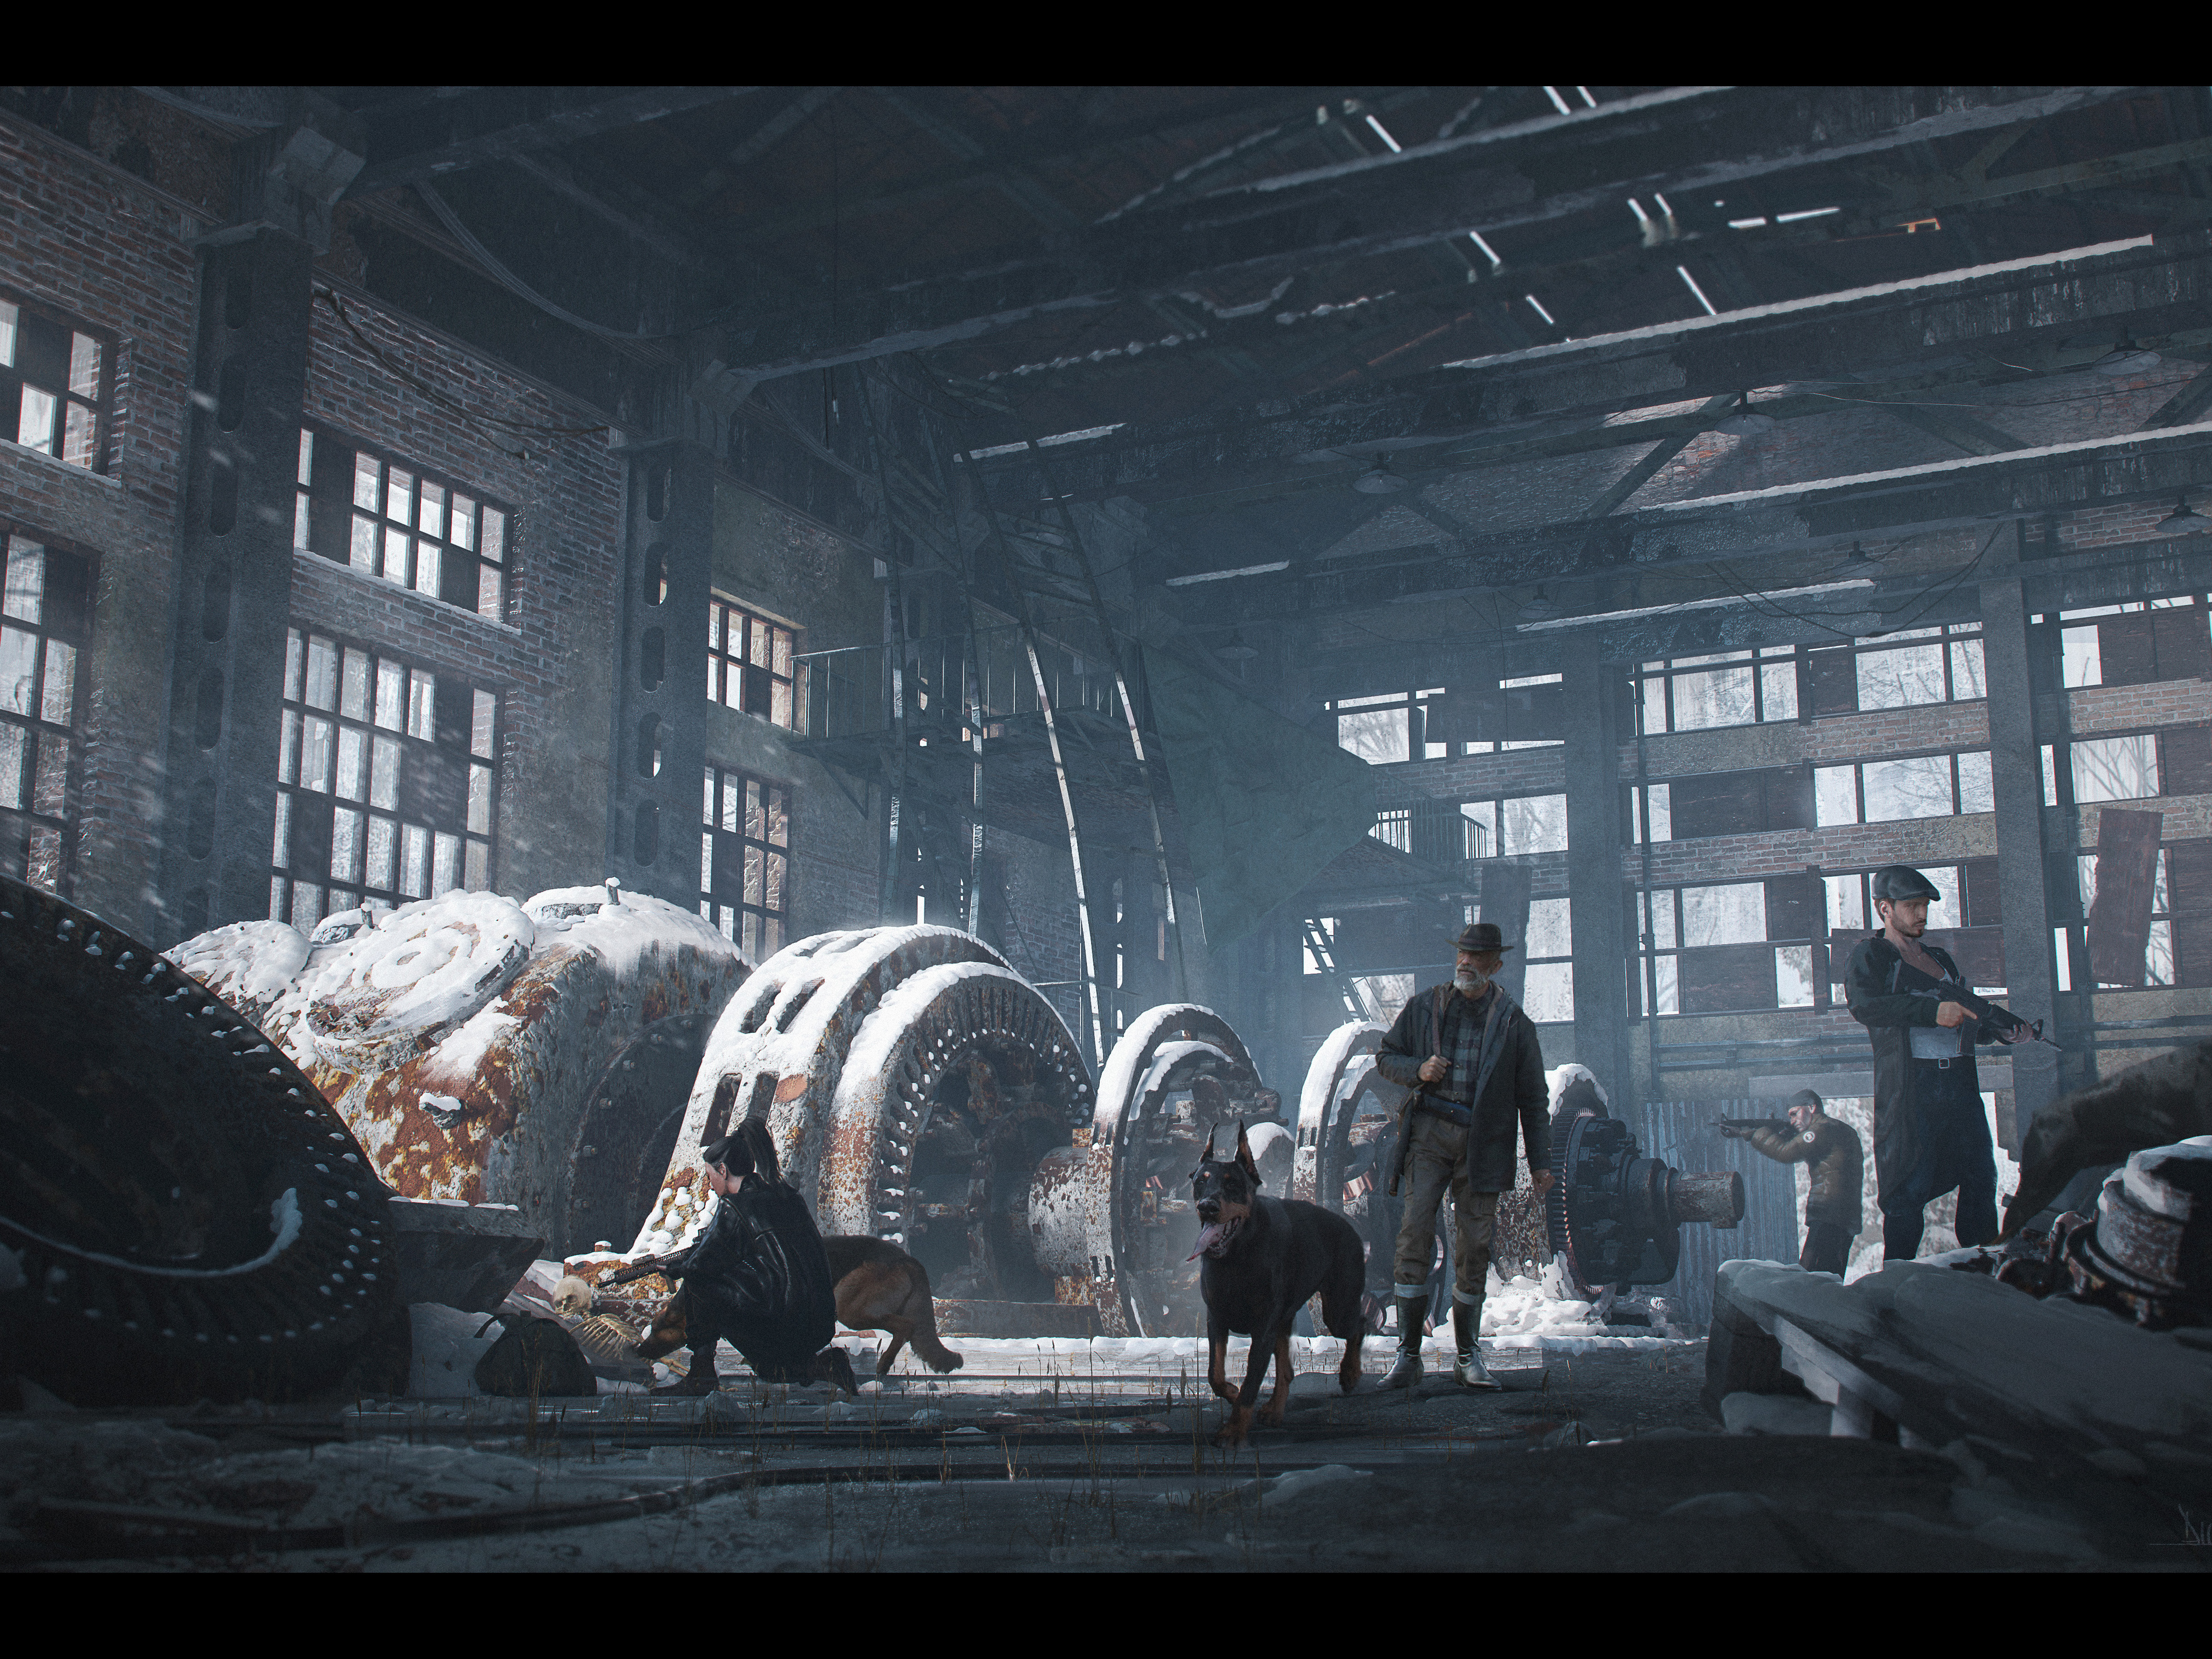
In this series of images I wanted to explore a different workflow, where I would introduce 3D heavily in the process and finish by Overpainting it on Photoshop.
STEPS:
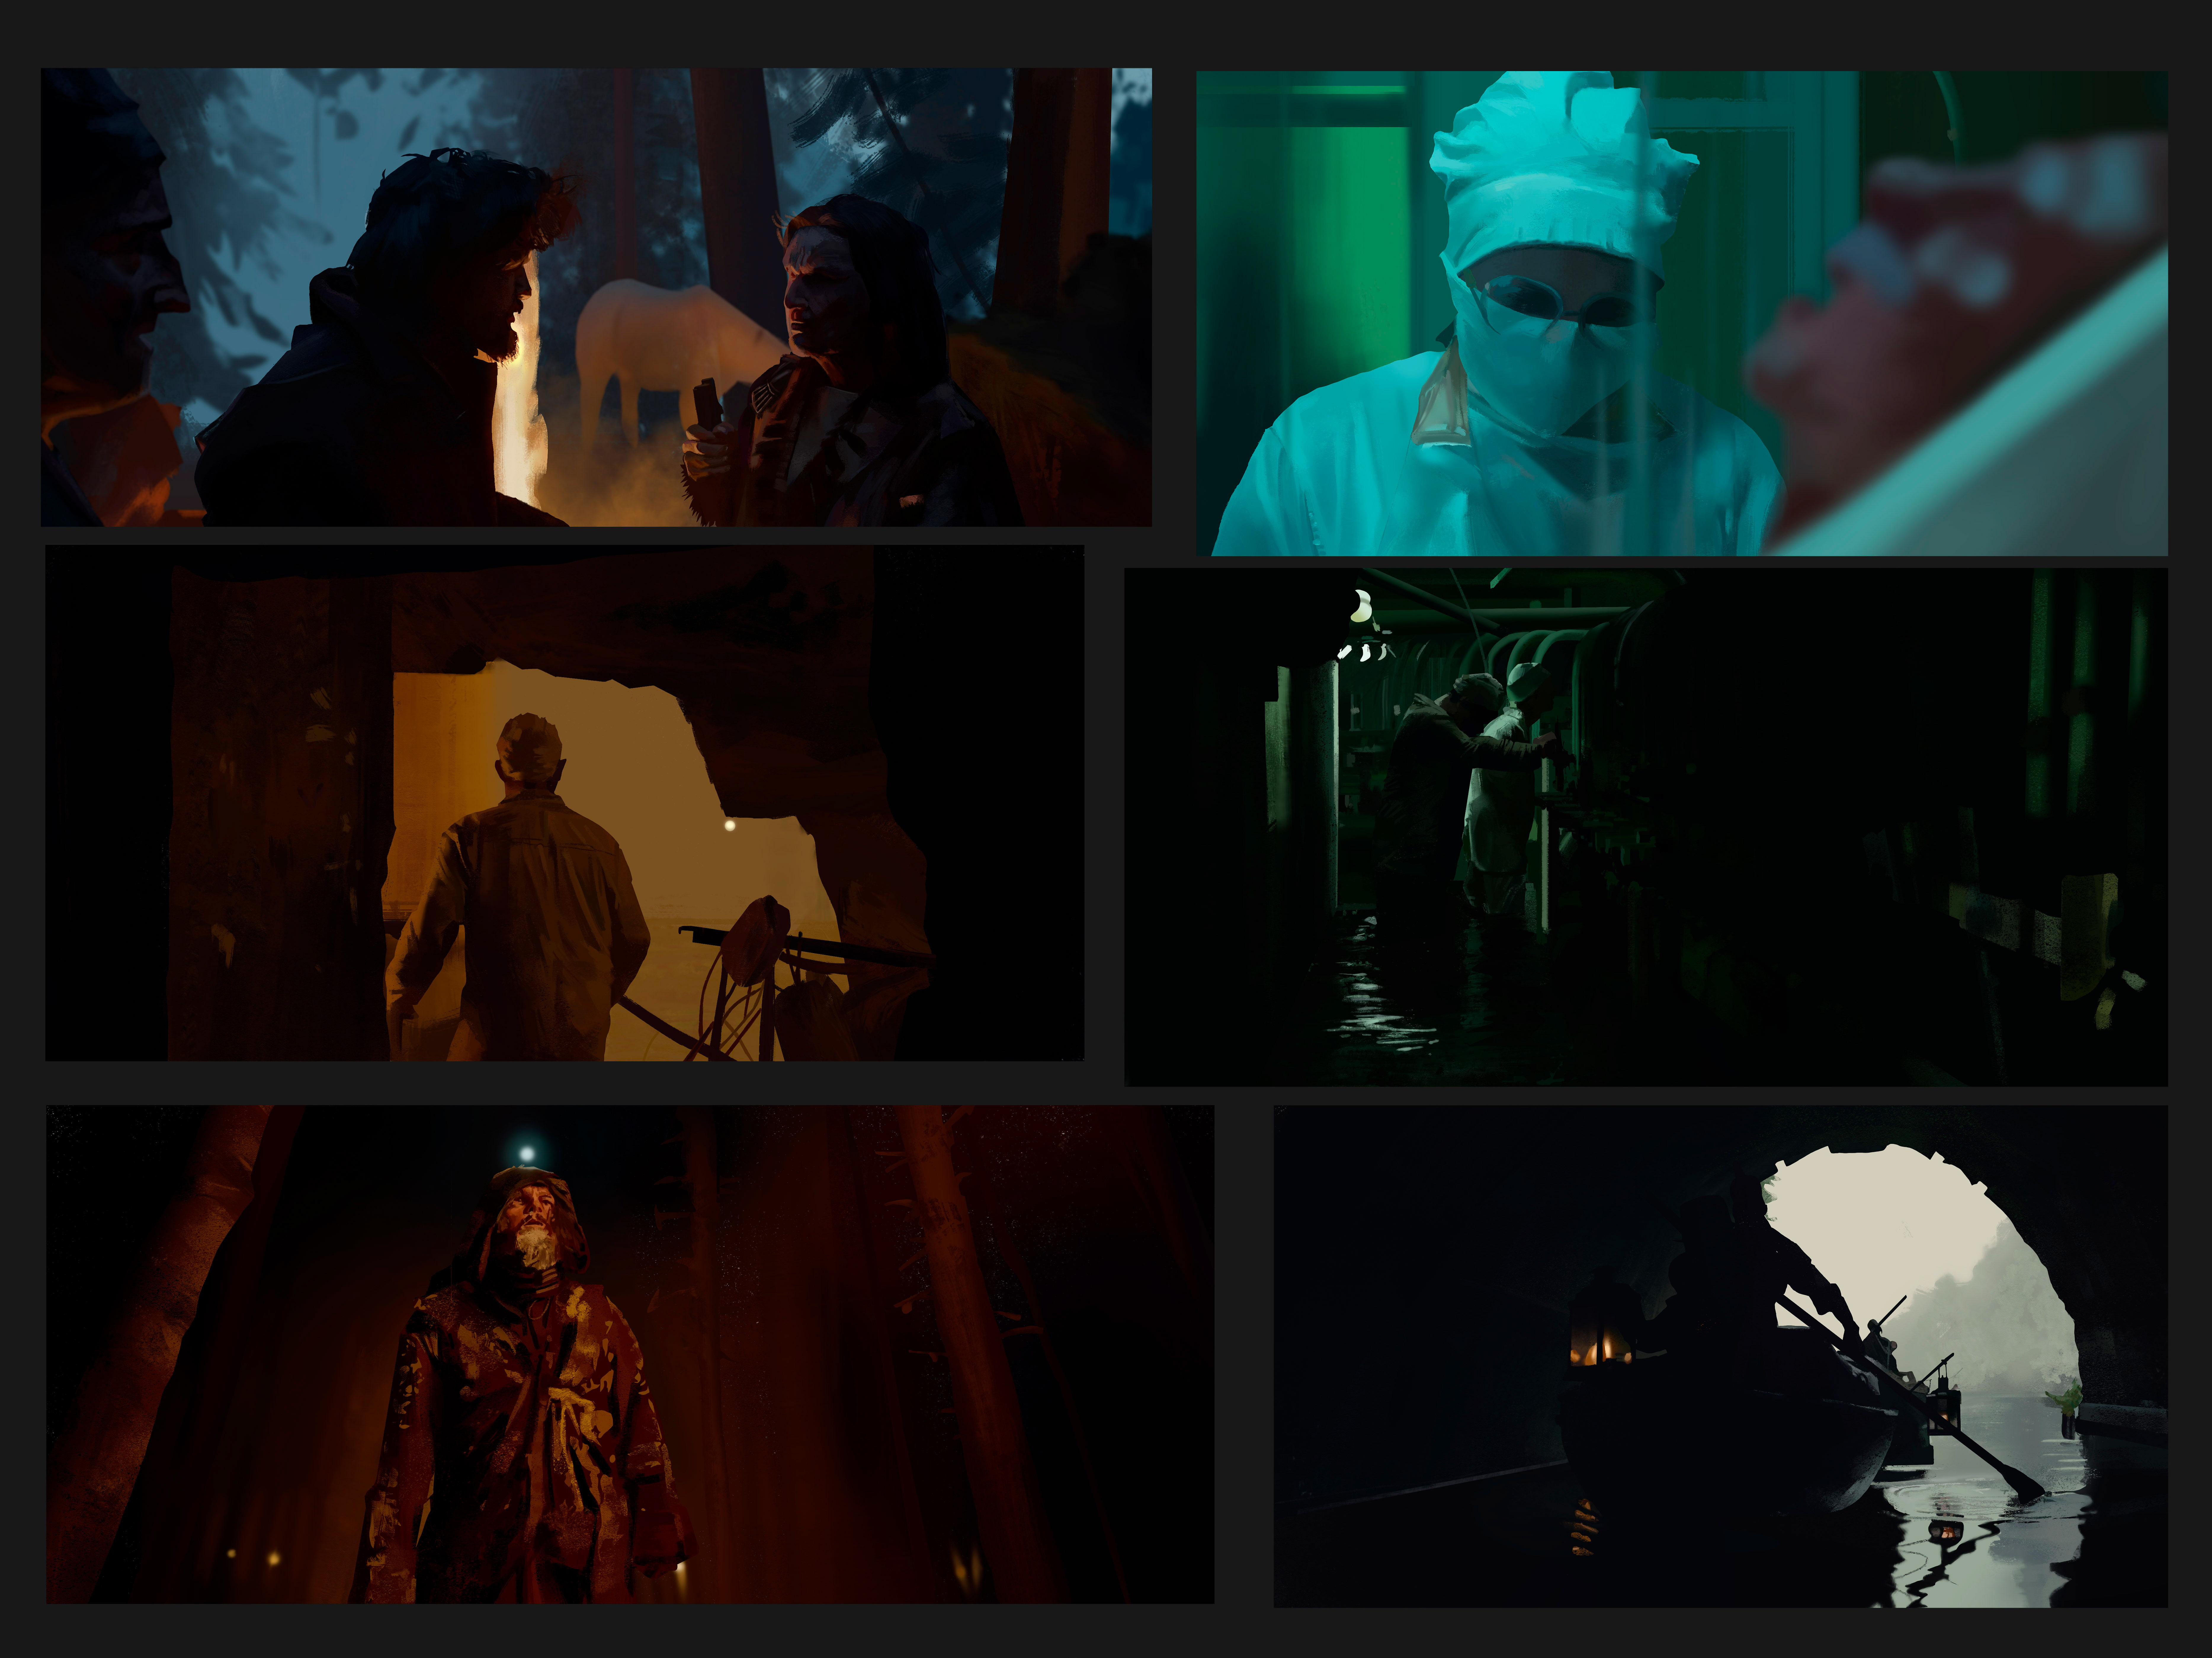
1. Composition rough thumbnails
2. Color, Light and Mood Studies
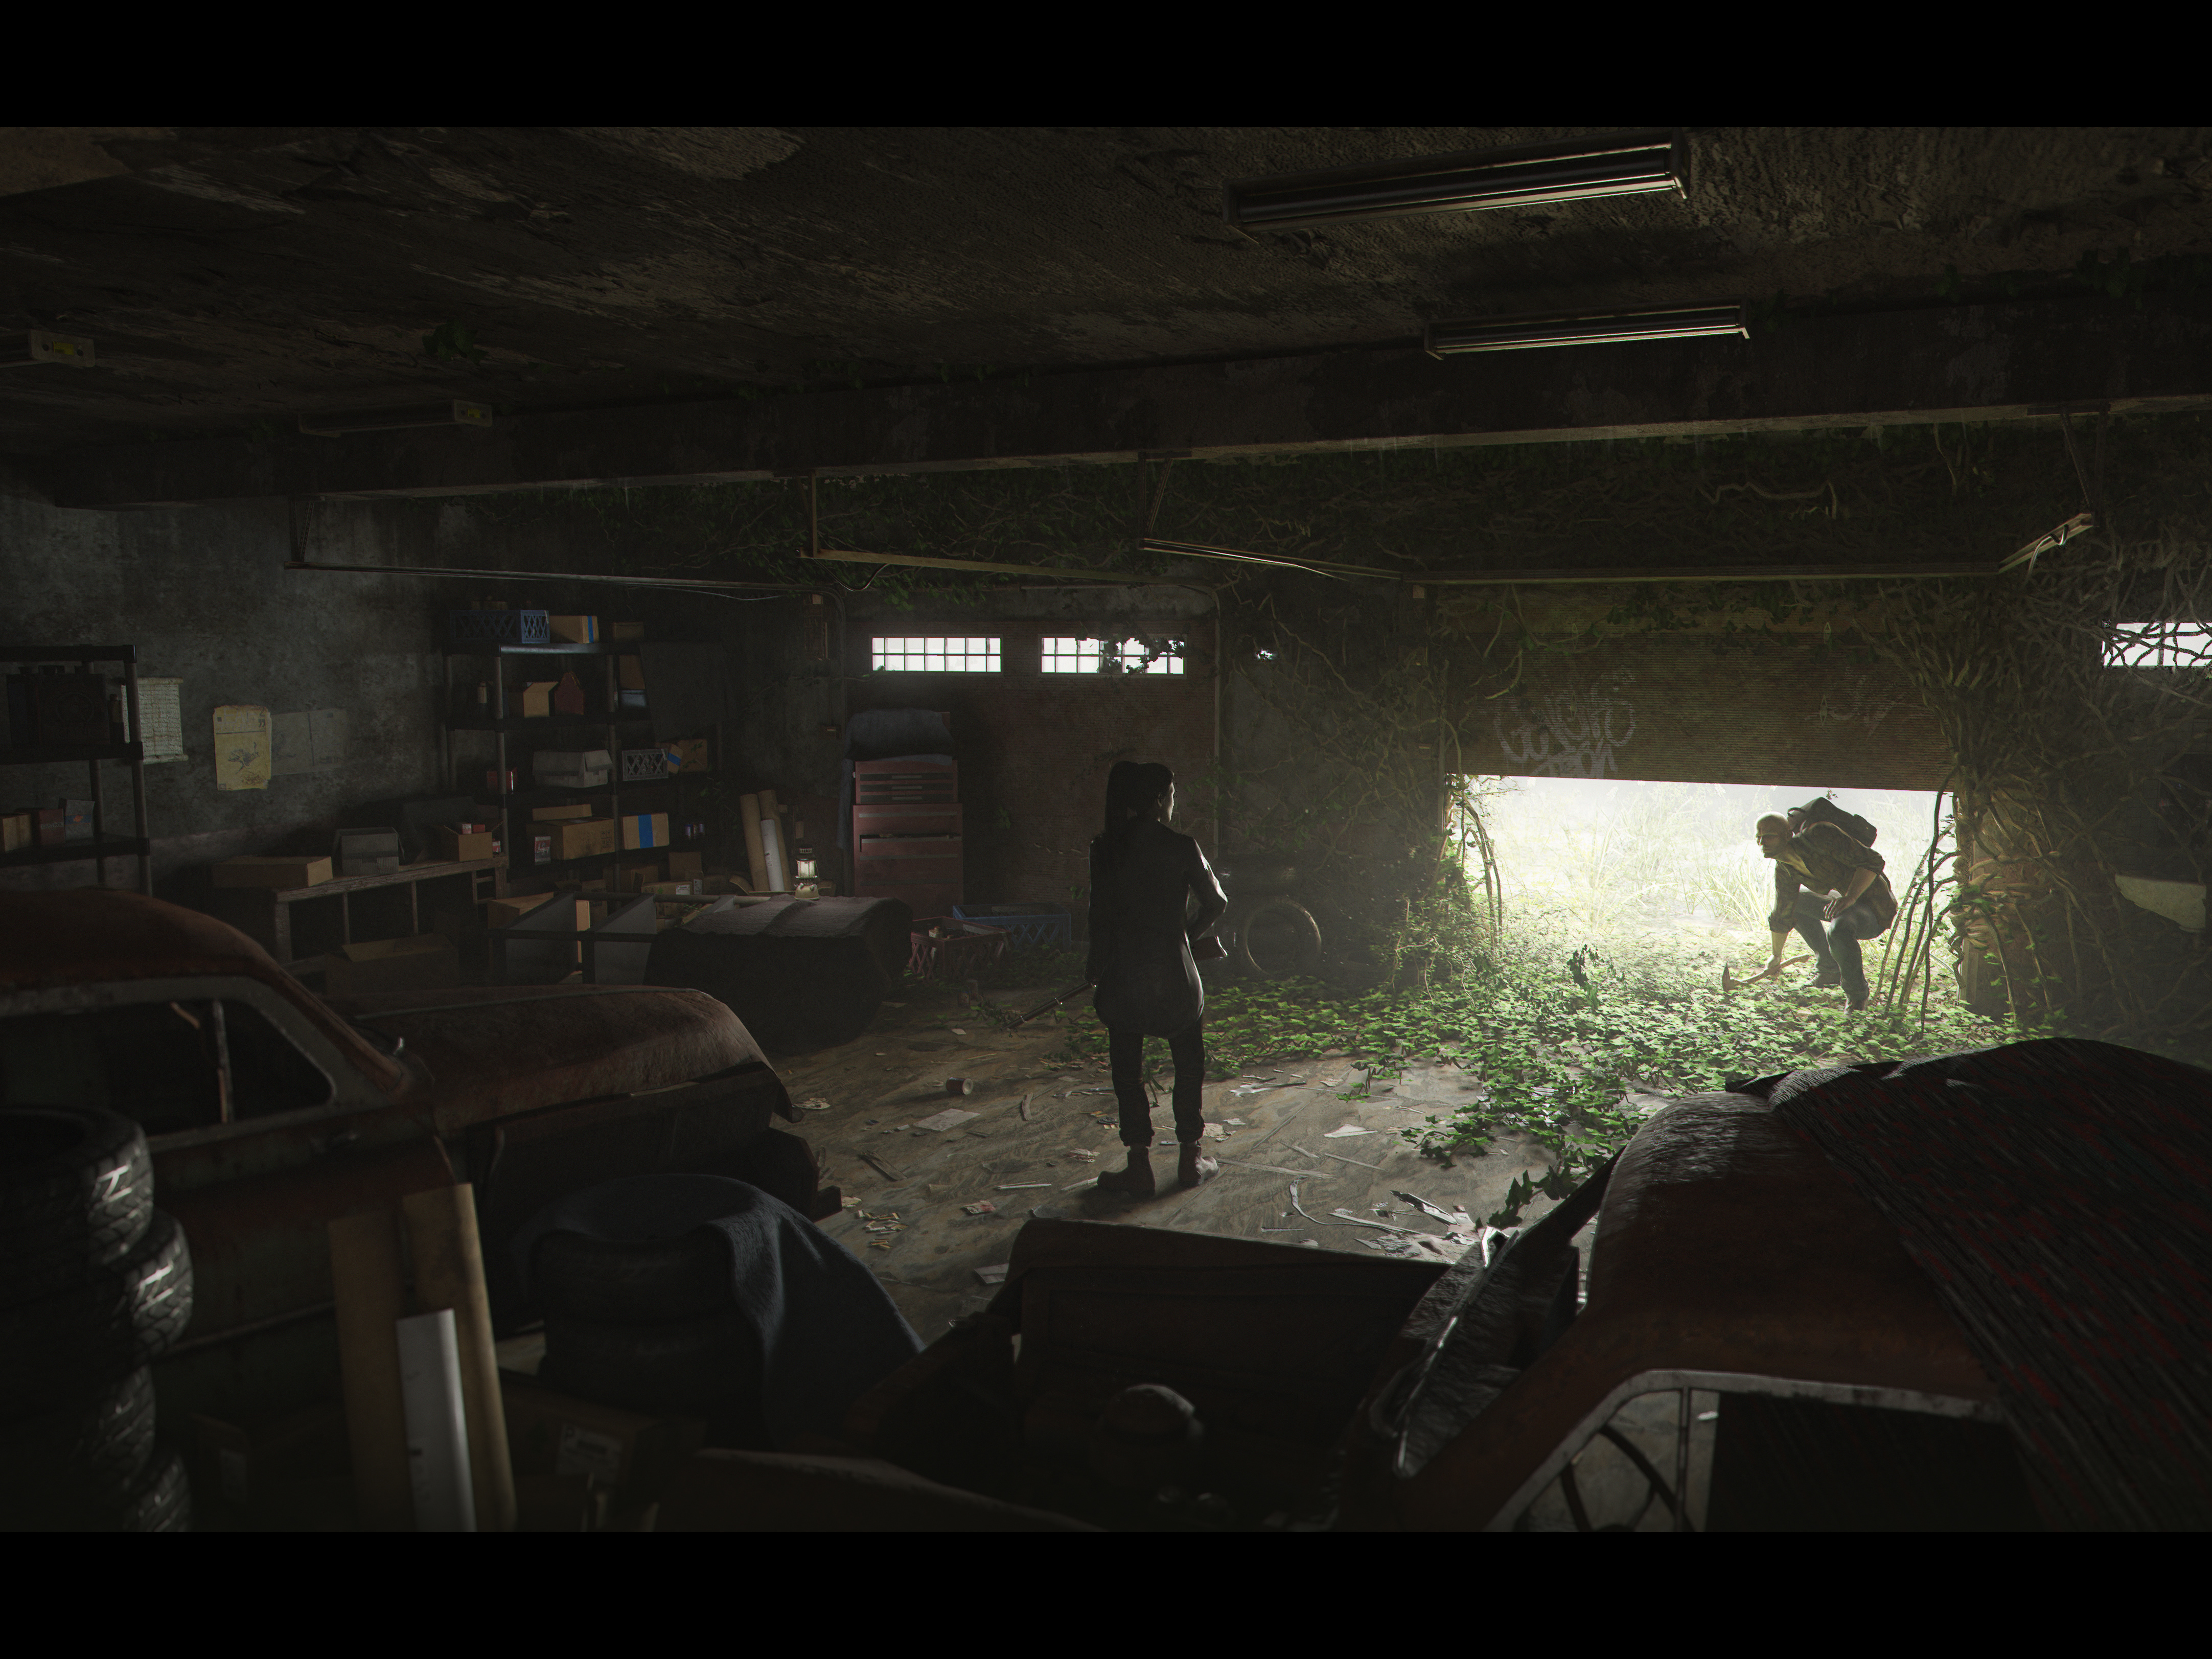
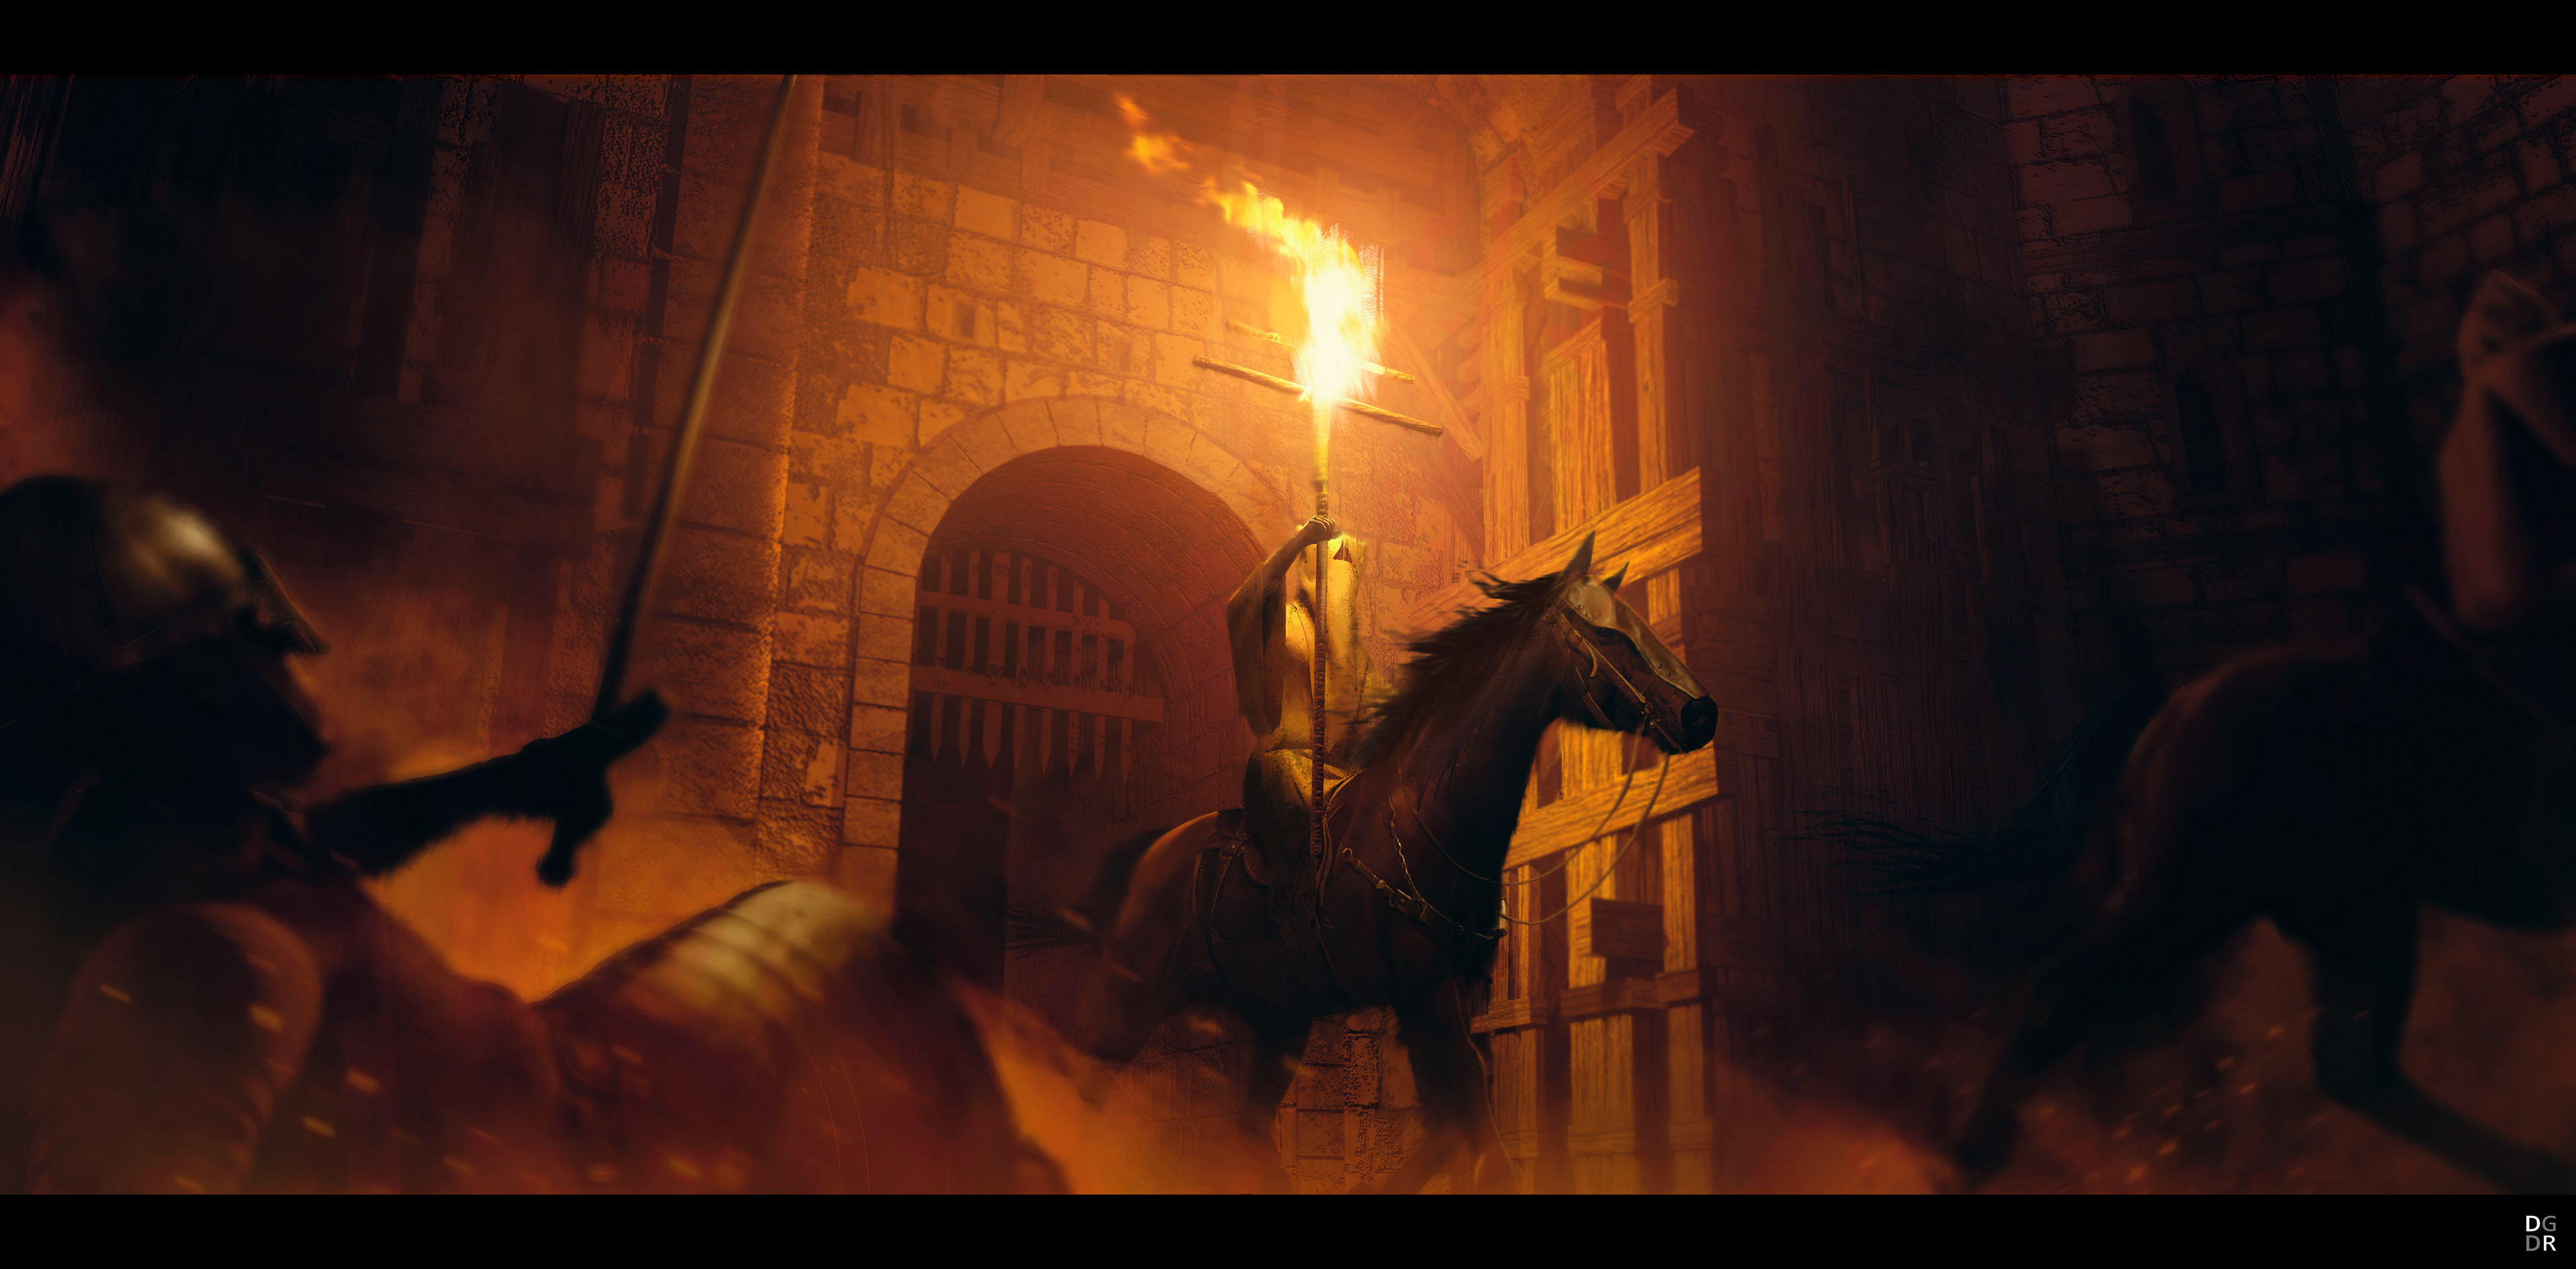
3. Select a Shot
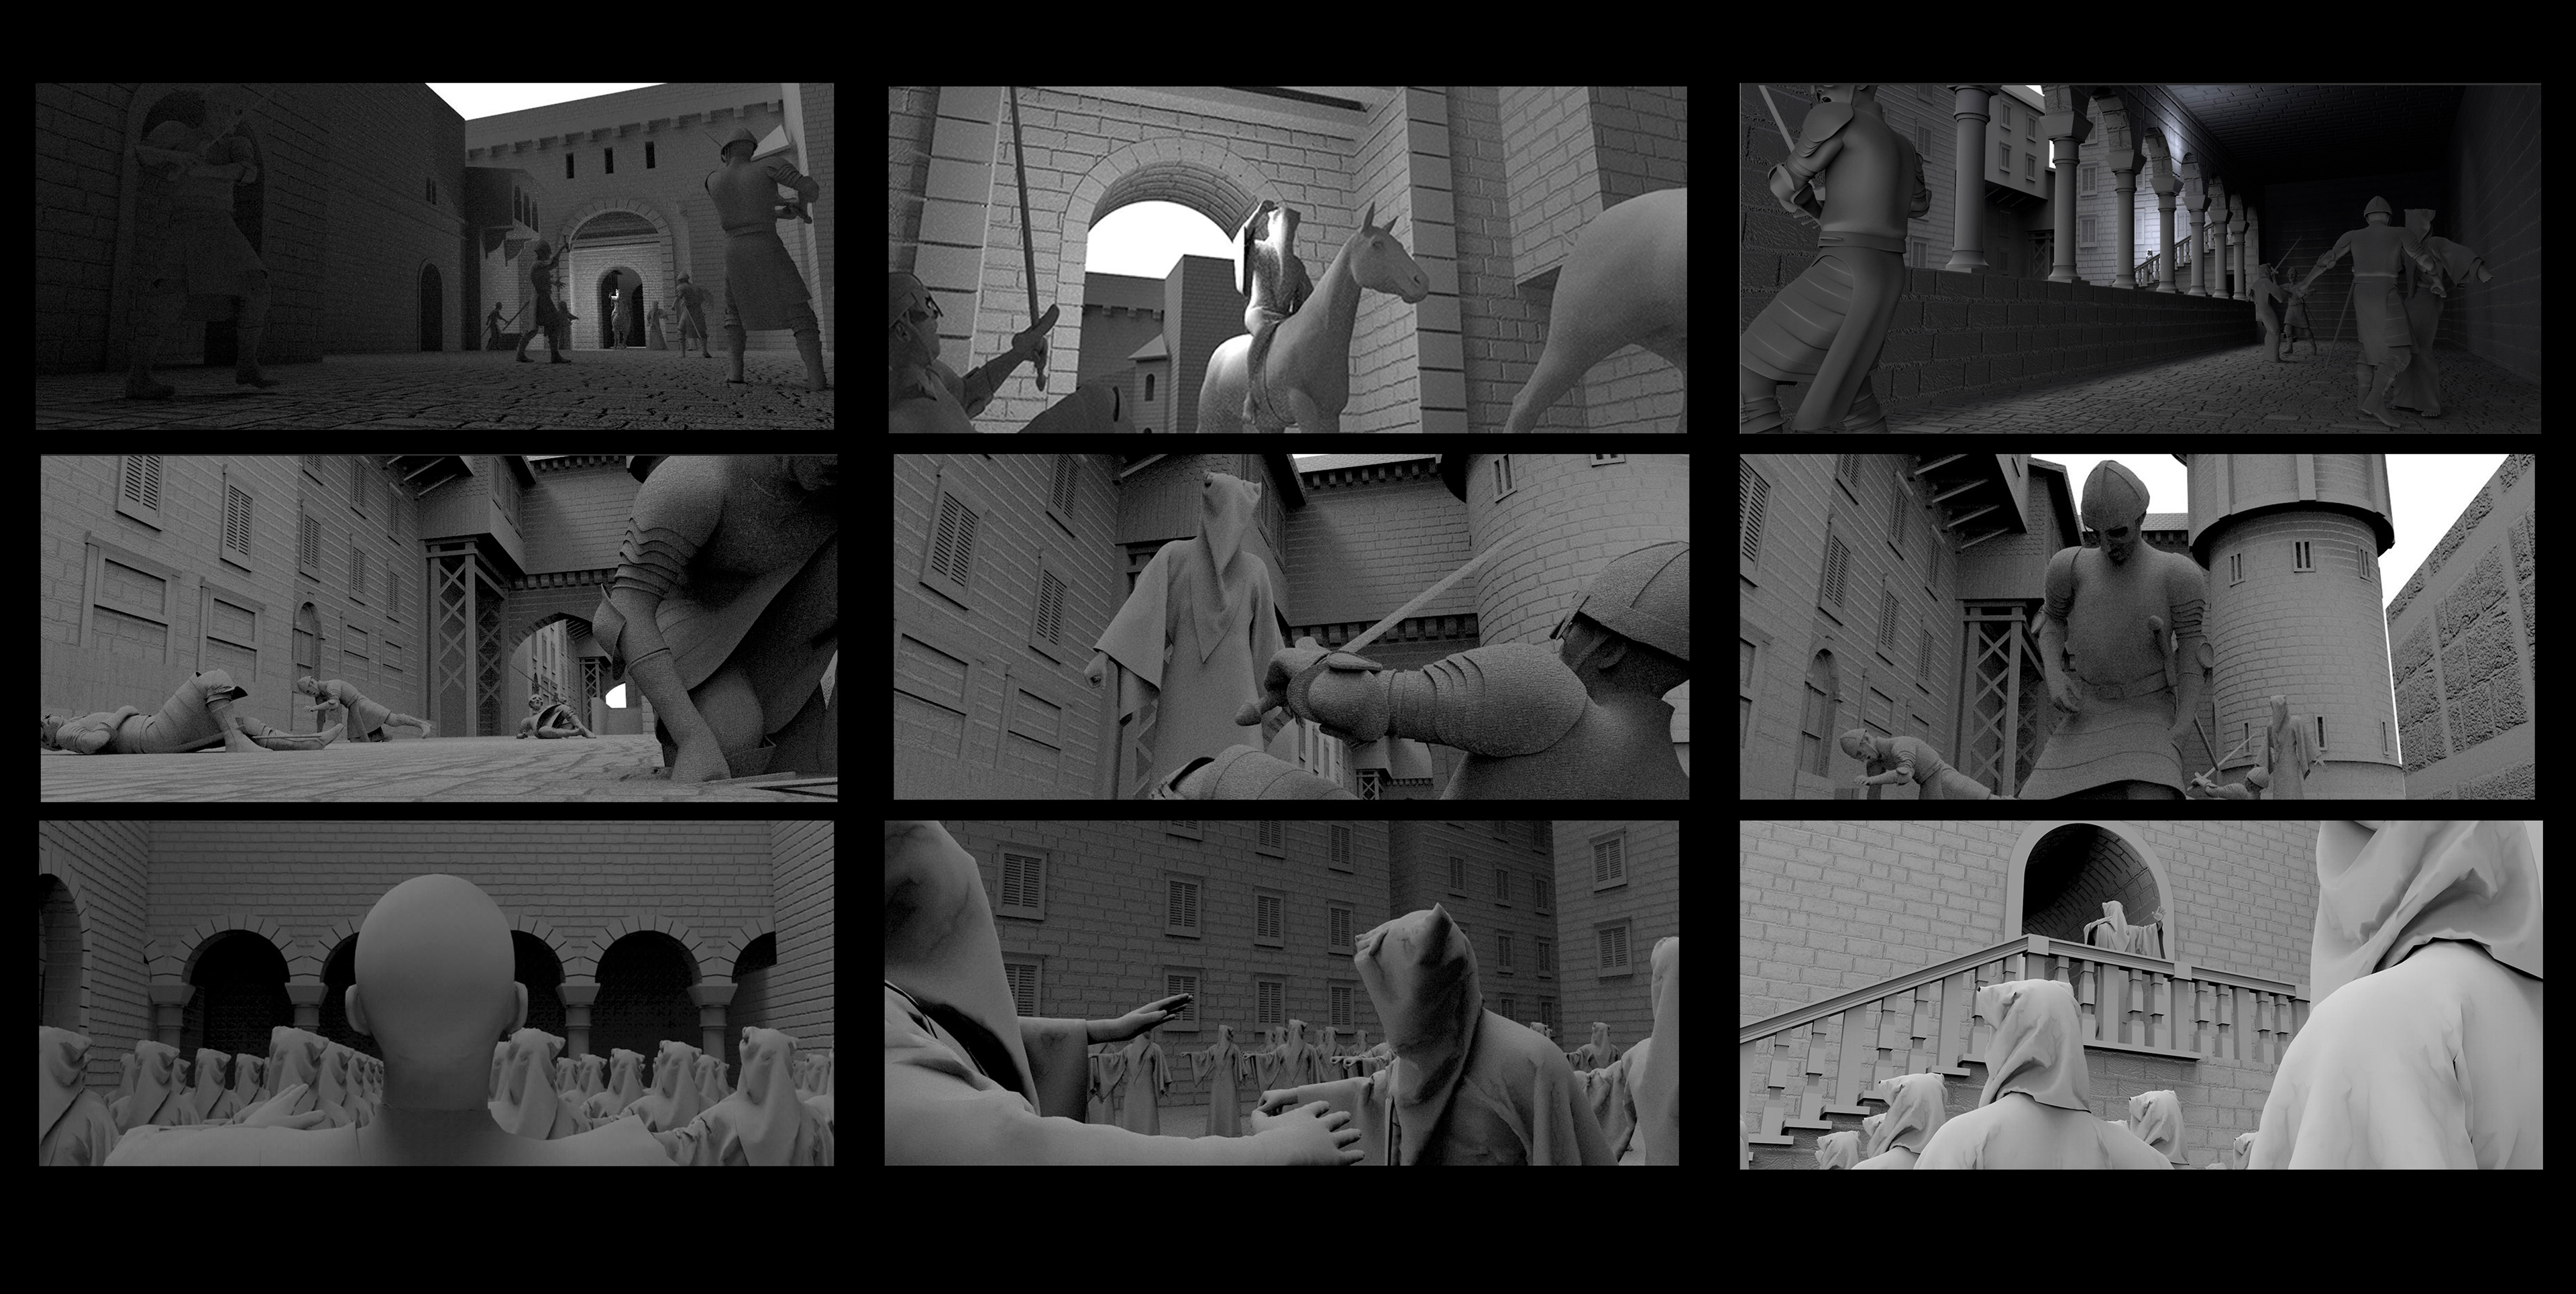
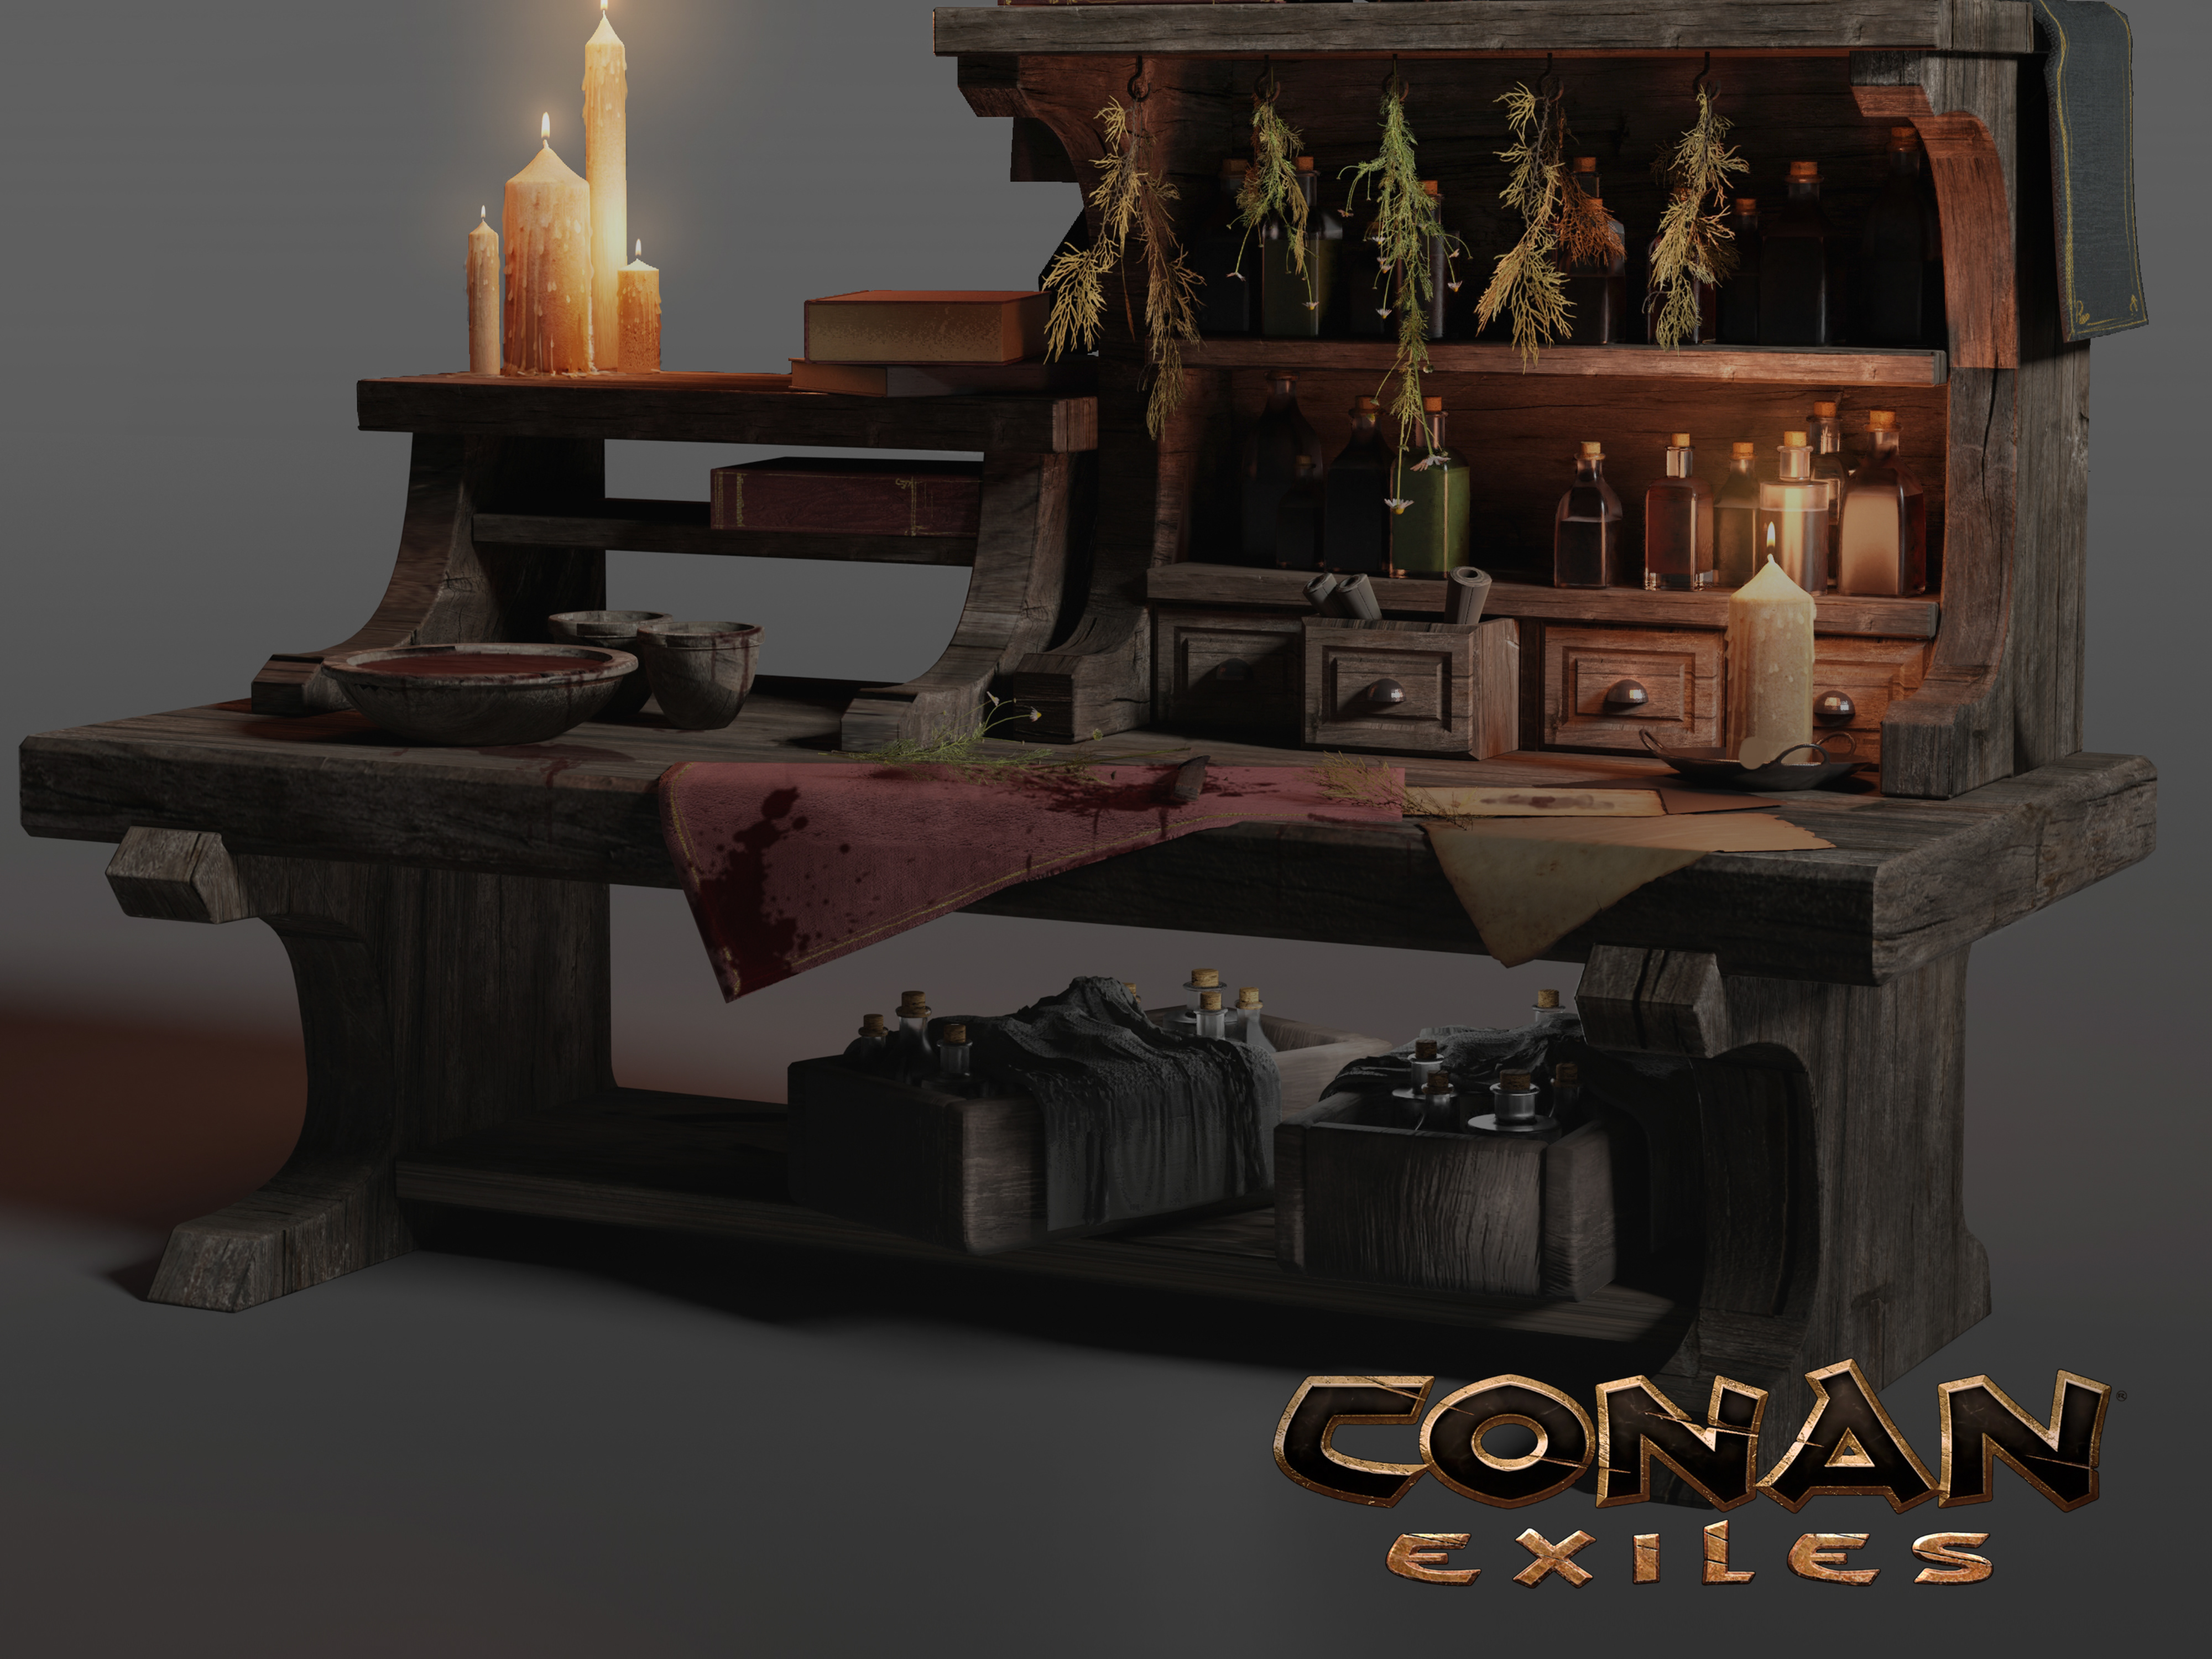
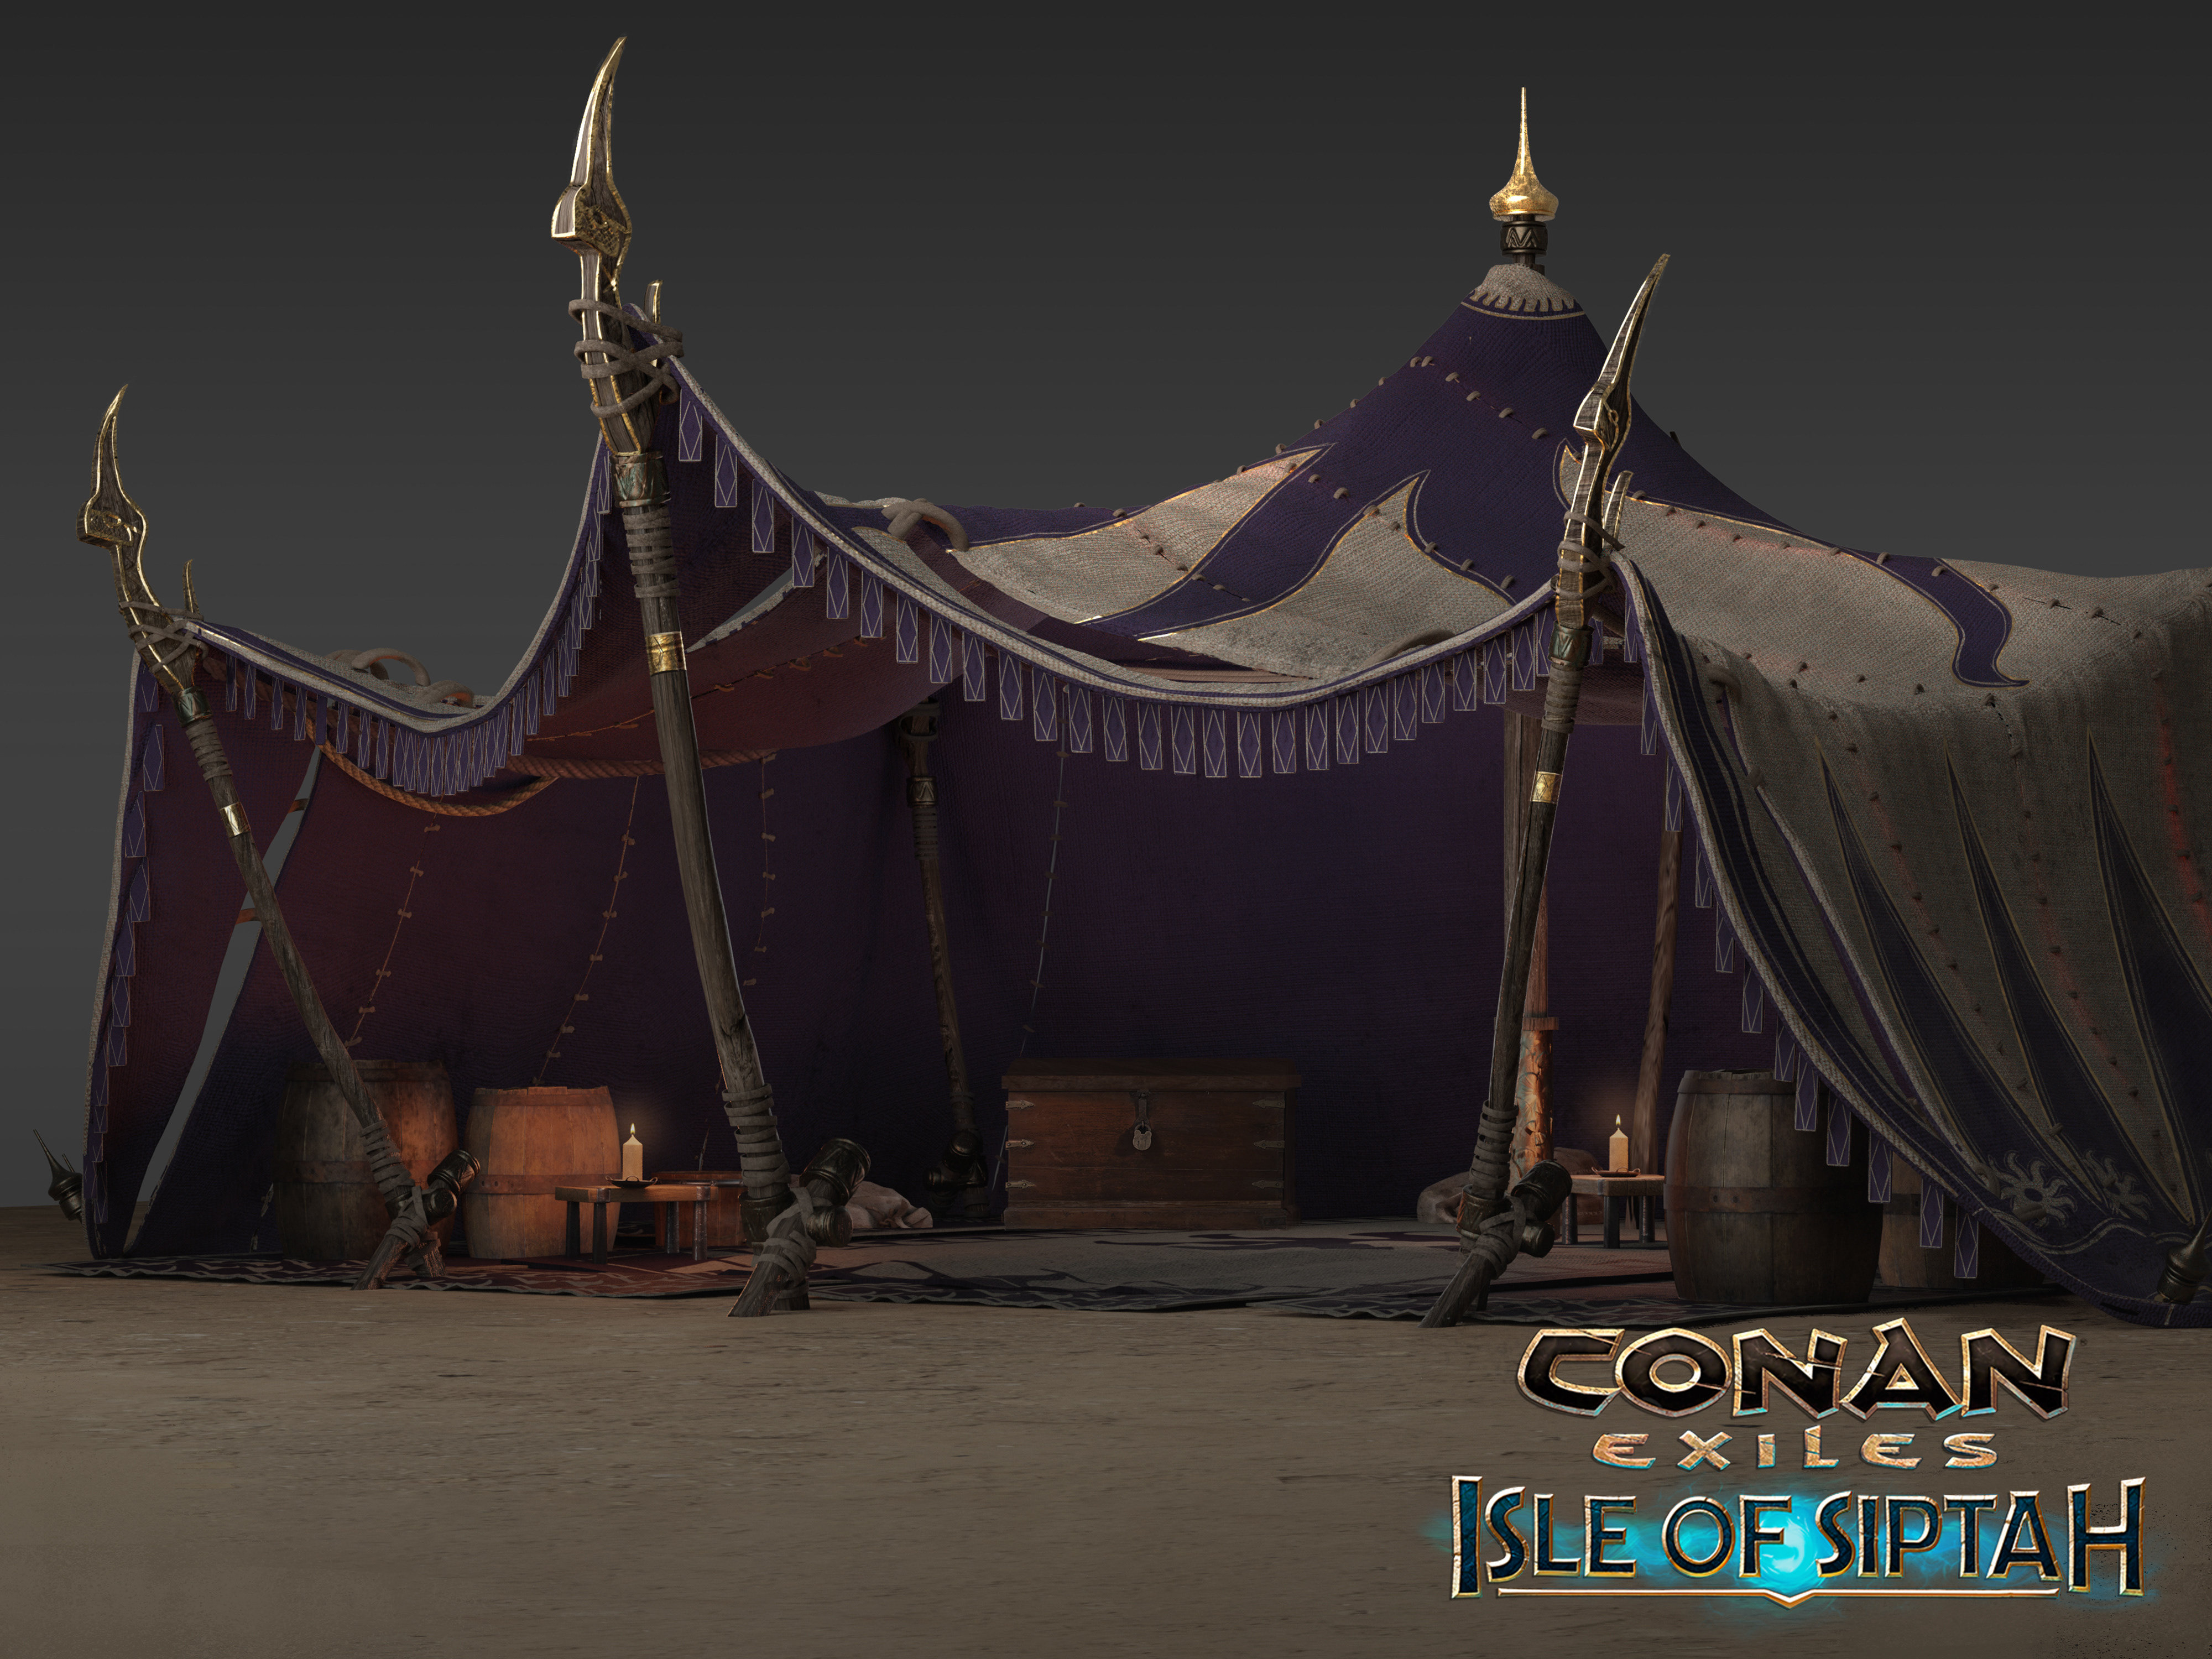
4. Build the assets in 3D and Set up the shot
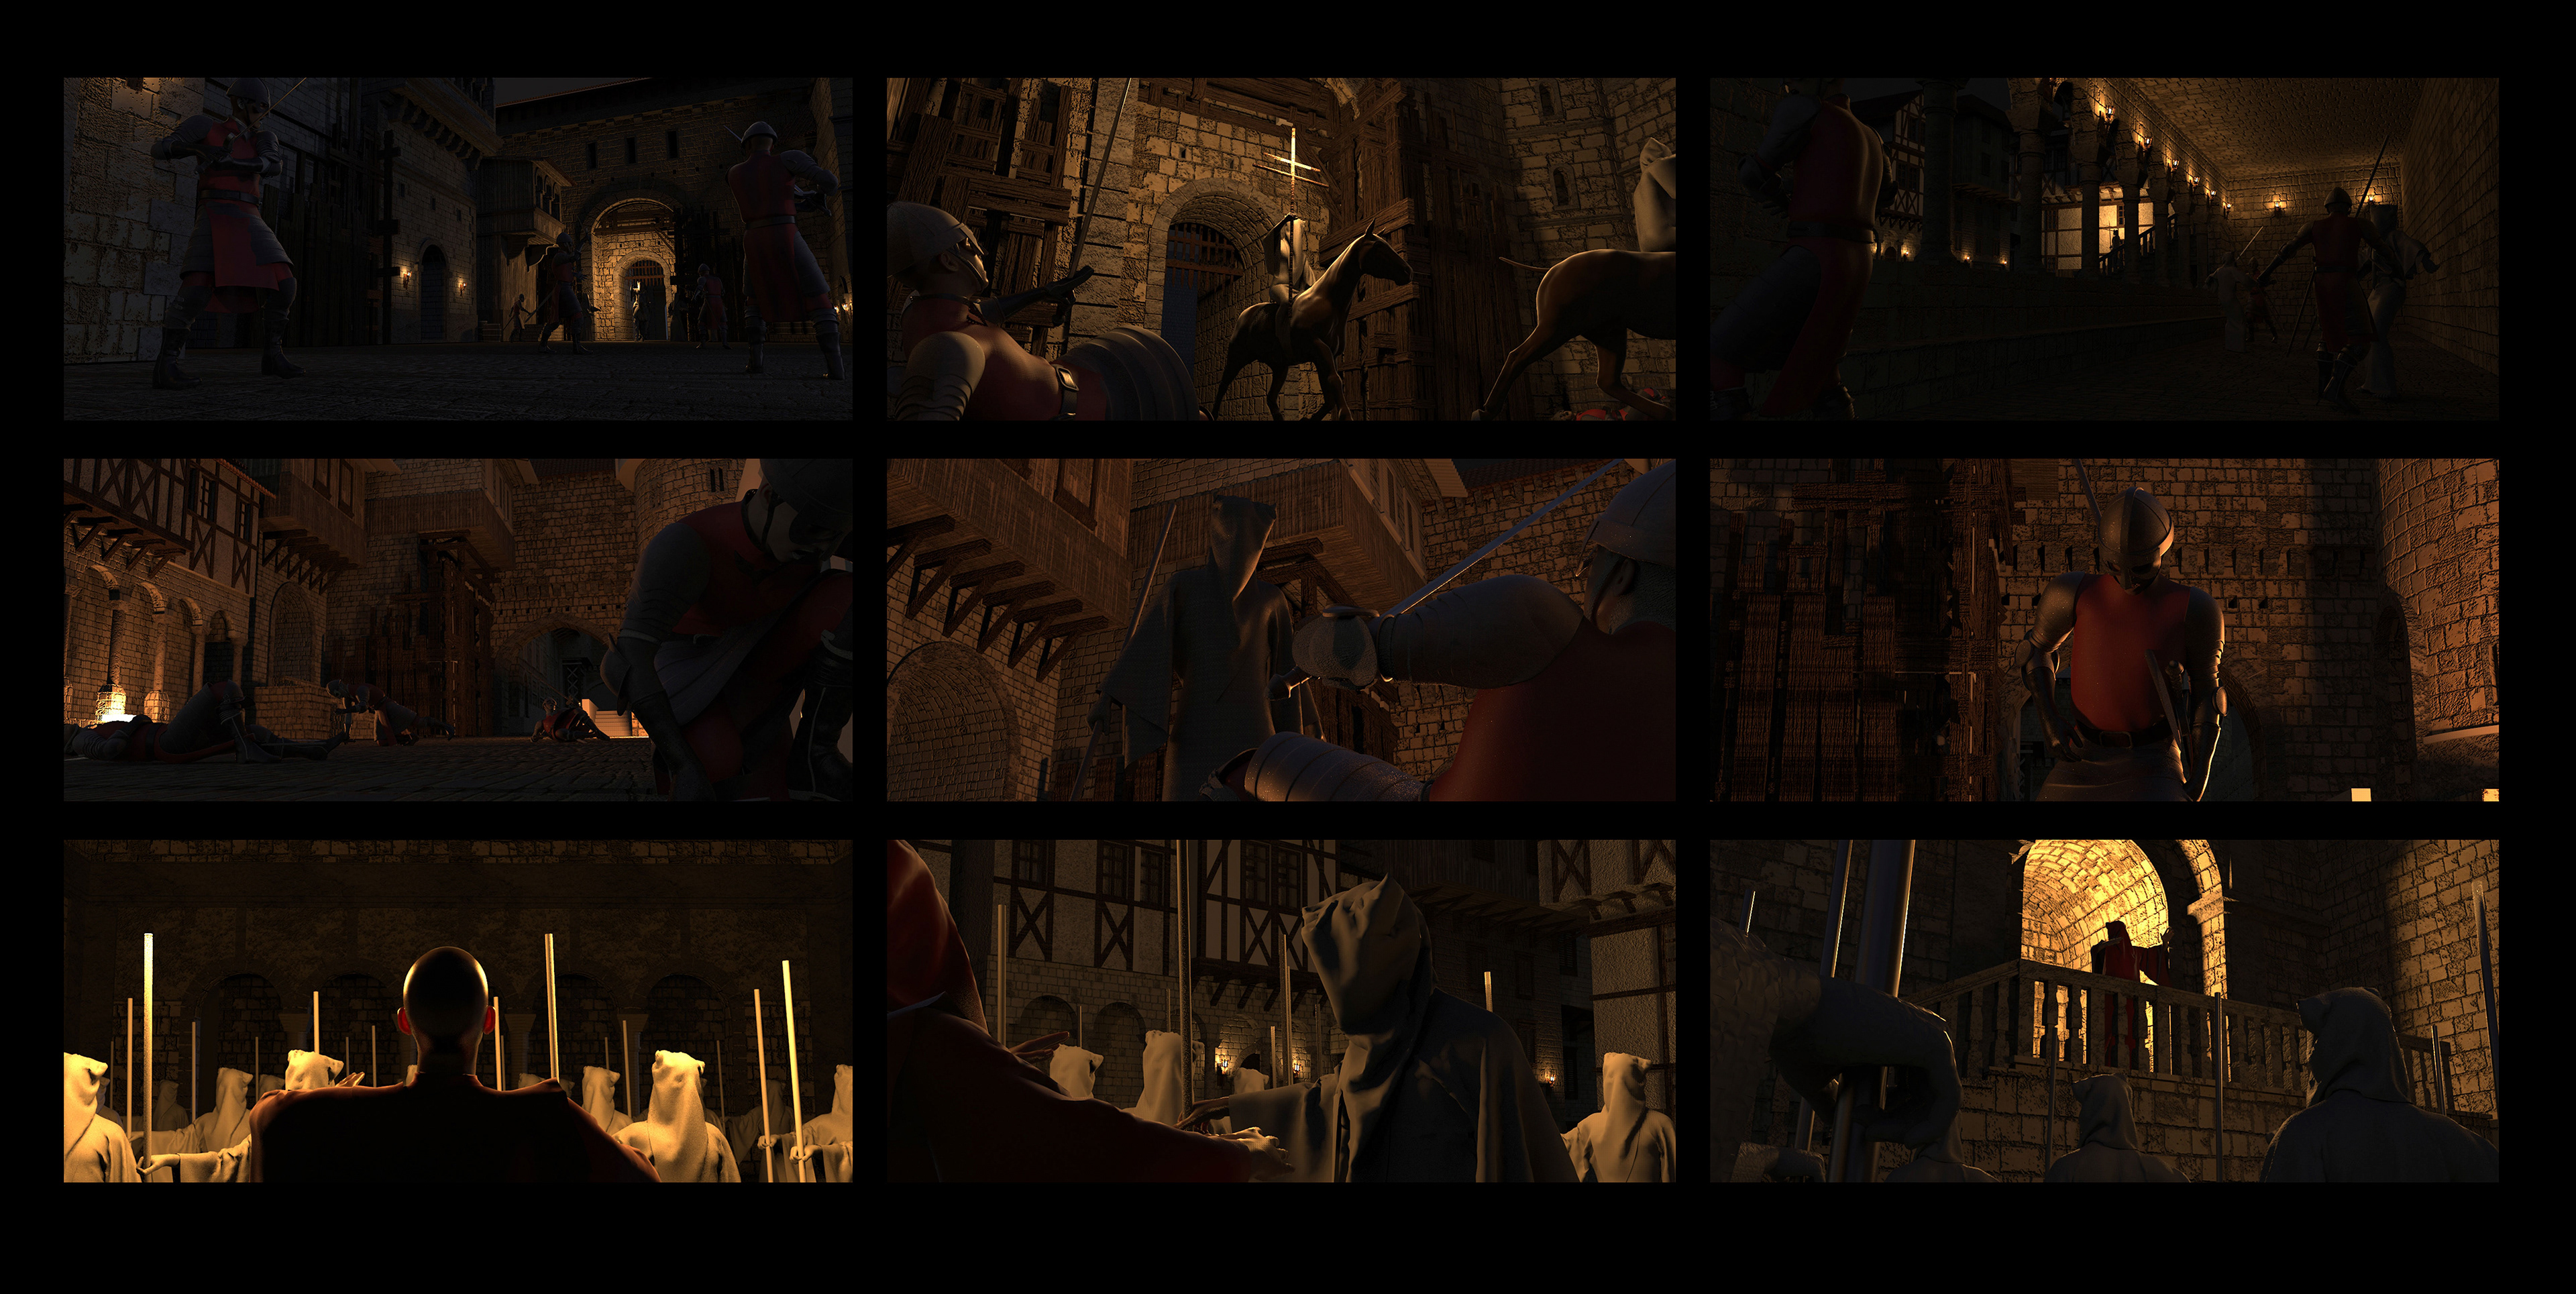
5. Render the shot with Base Materials and Lighting
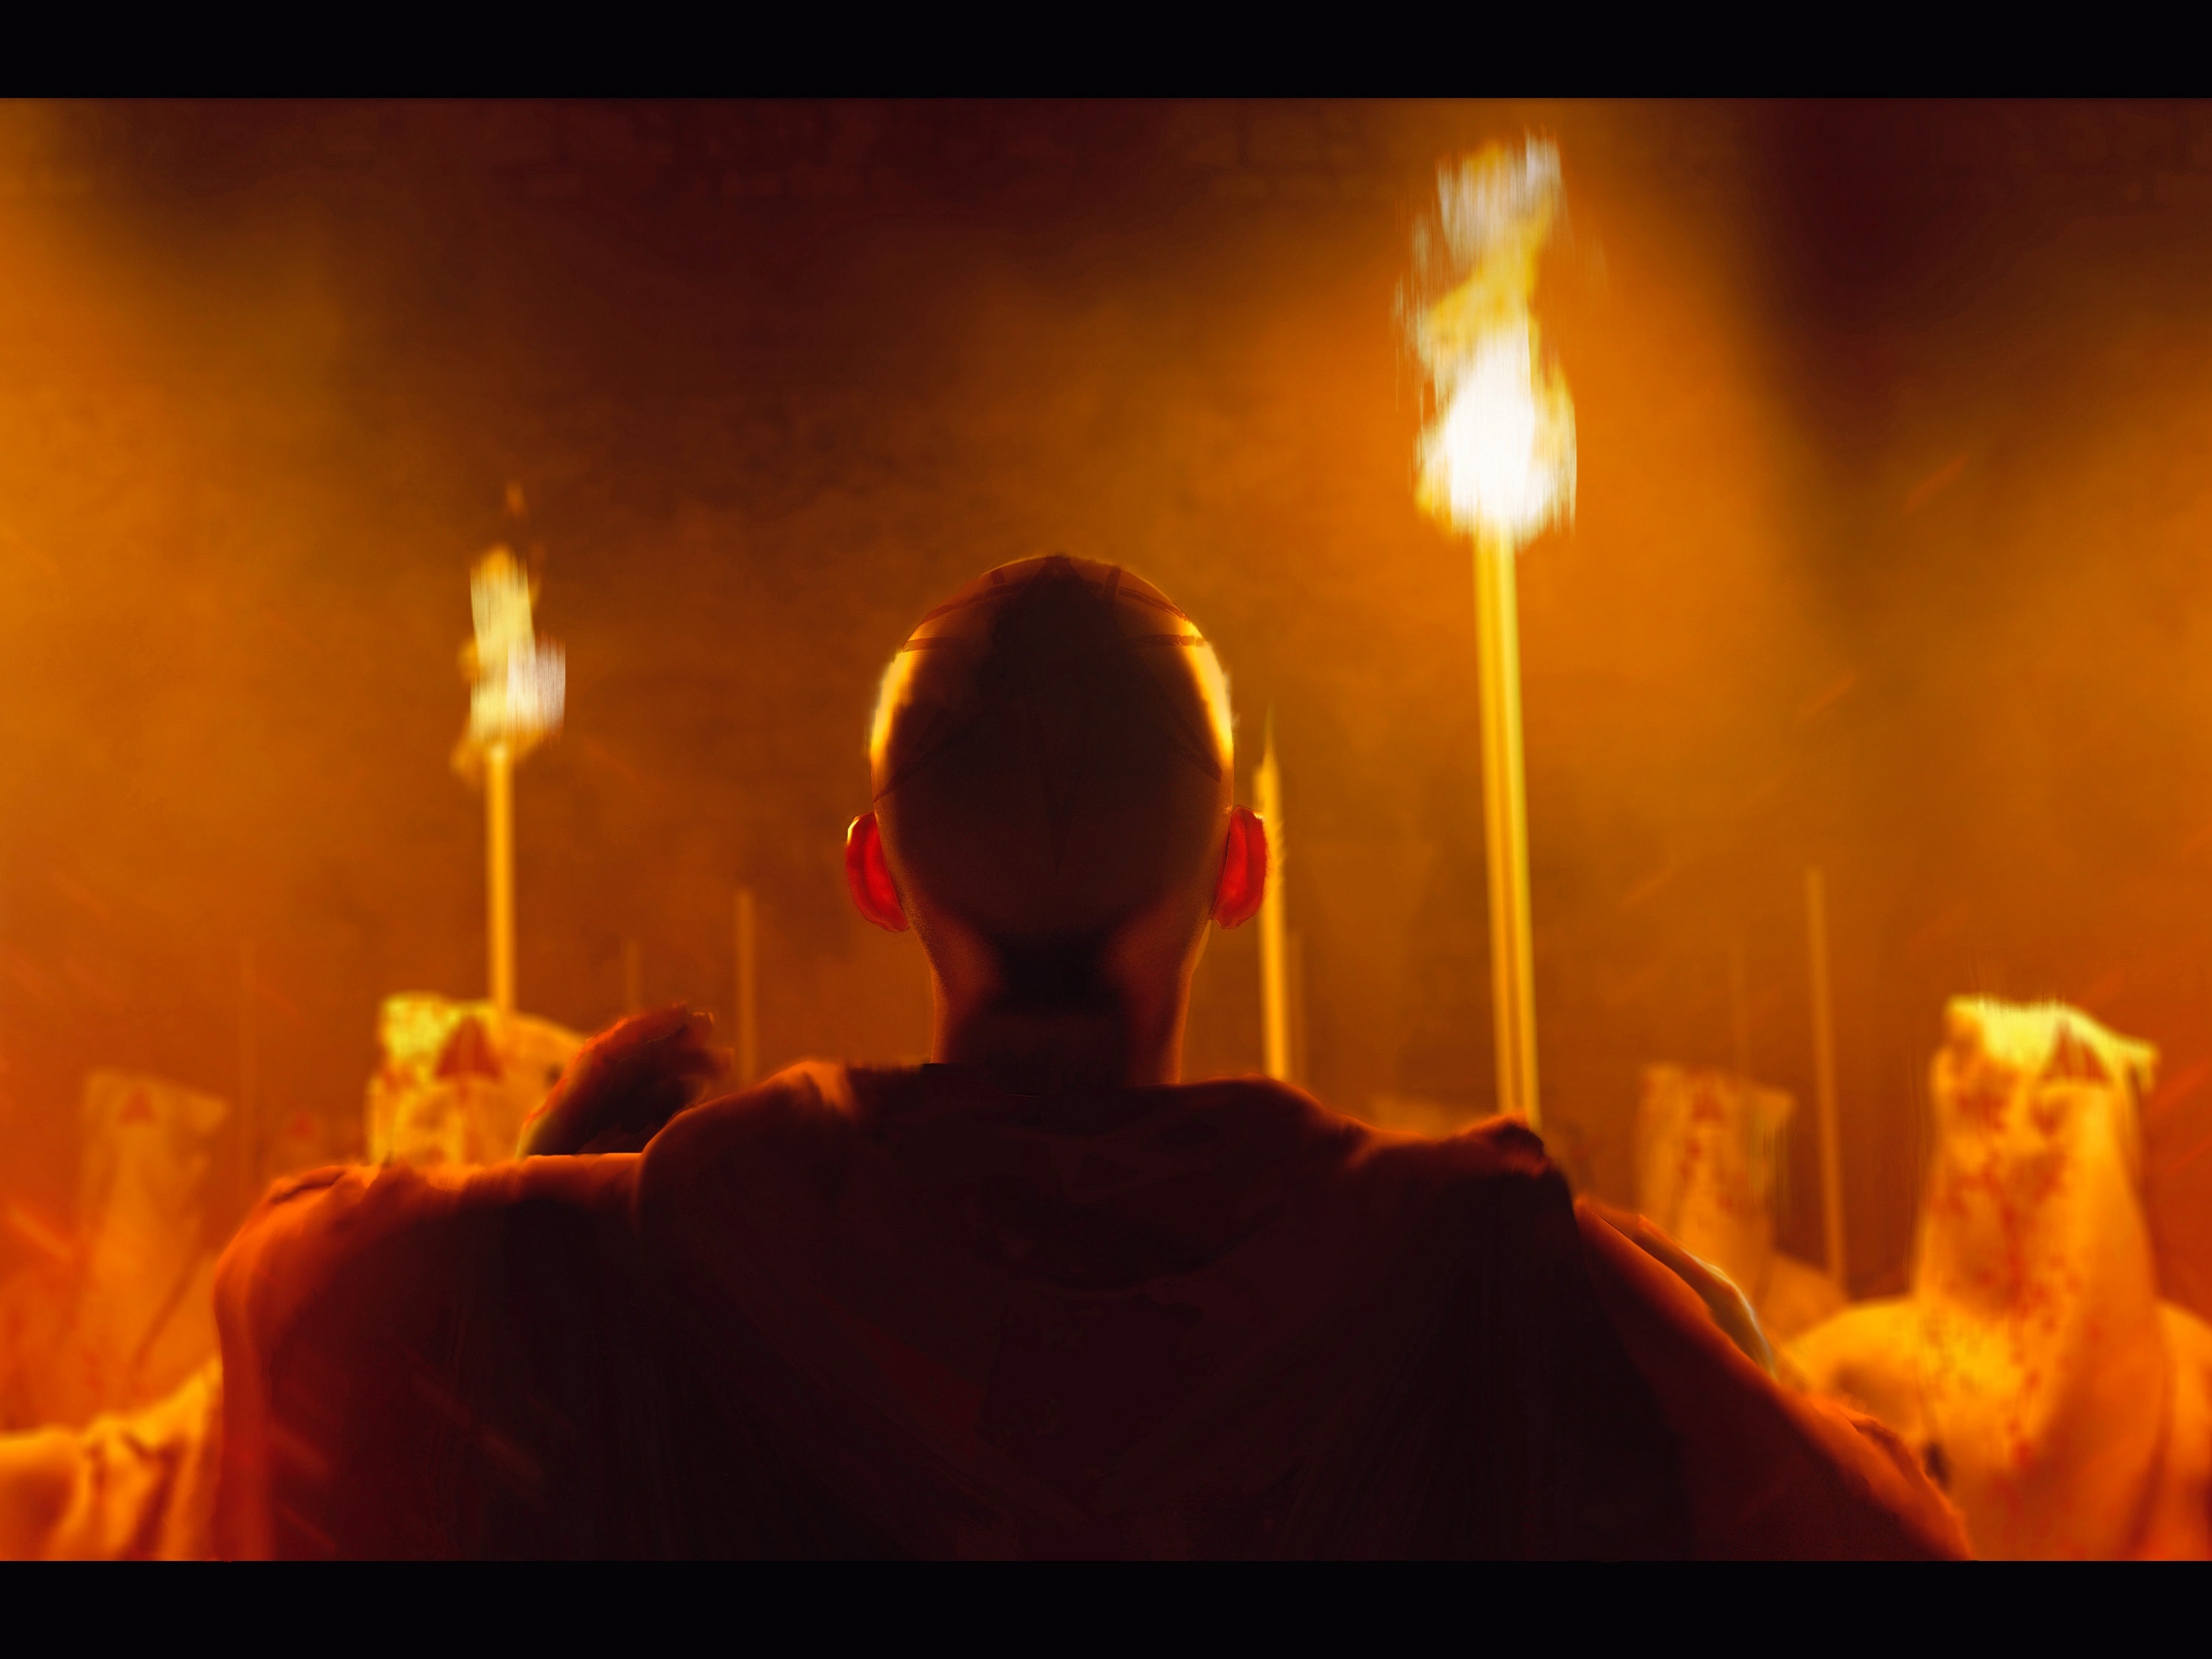
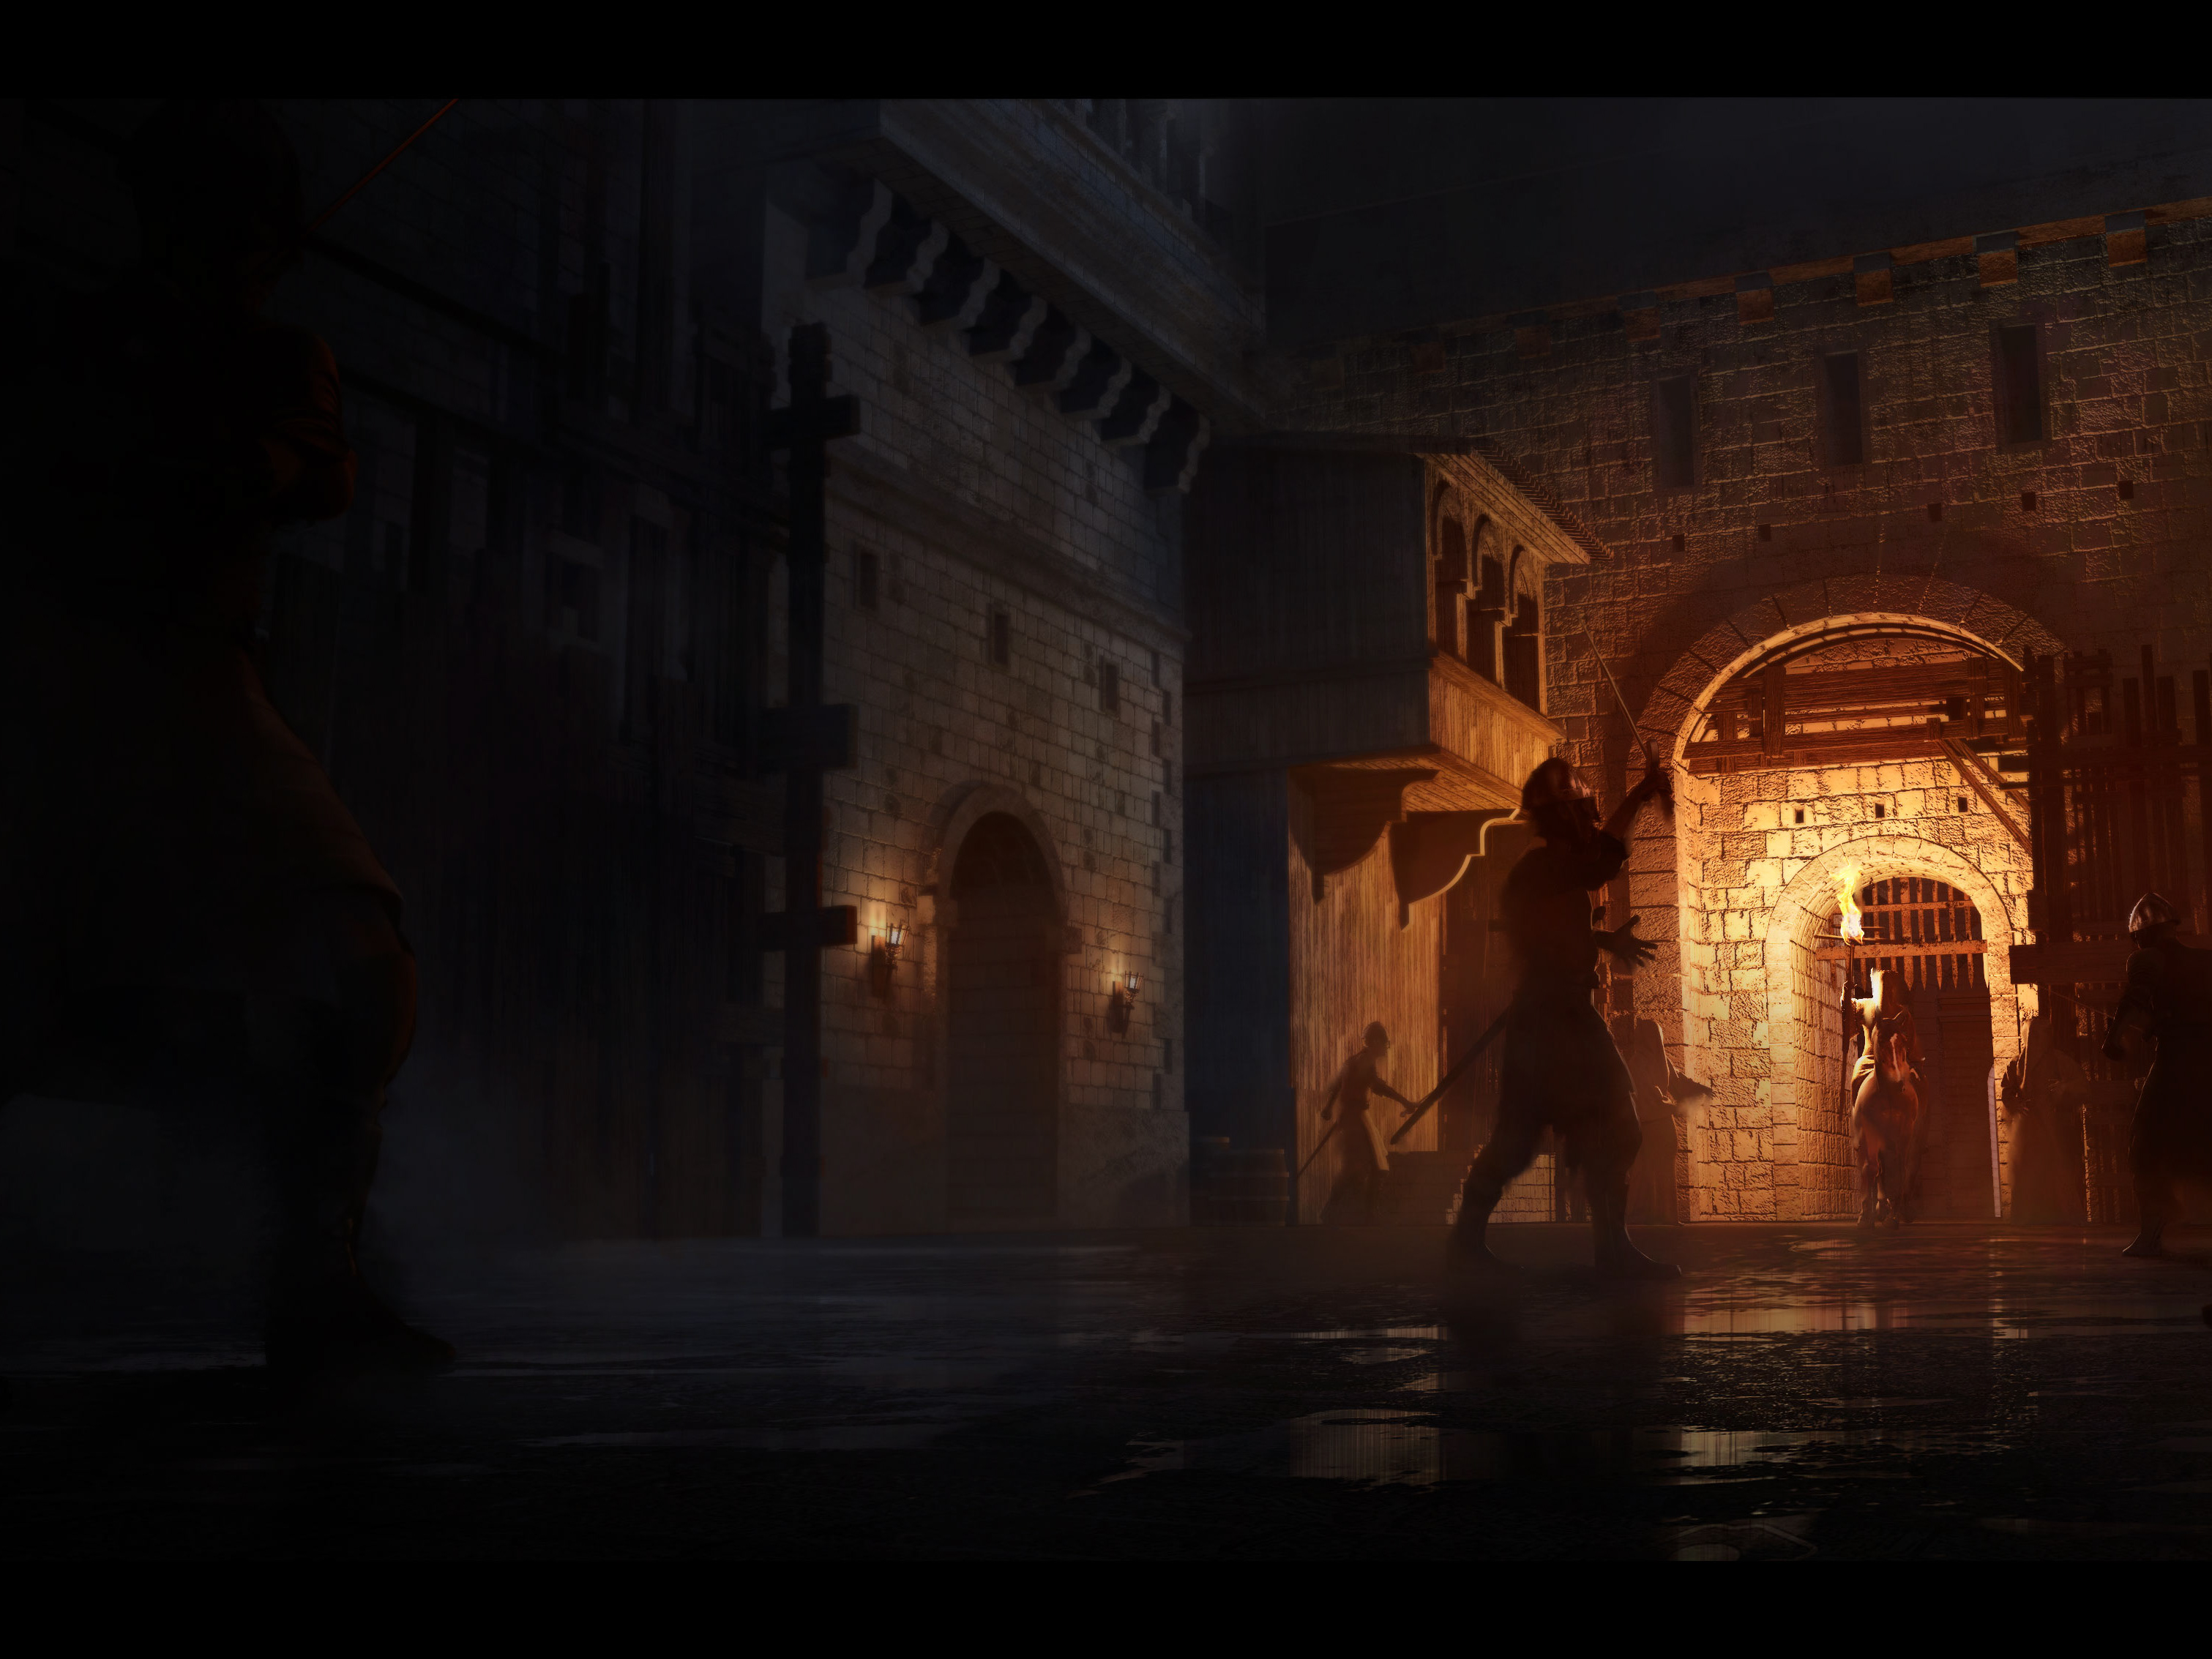
6. Overpainting and Photobashing in Photoshop
SOFTWARE USED: Photoshop; Moi3D; Daz Studio; Marvelous Designer; Keyshot.